
Quote Templates for Excel
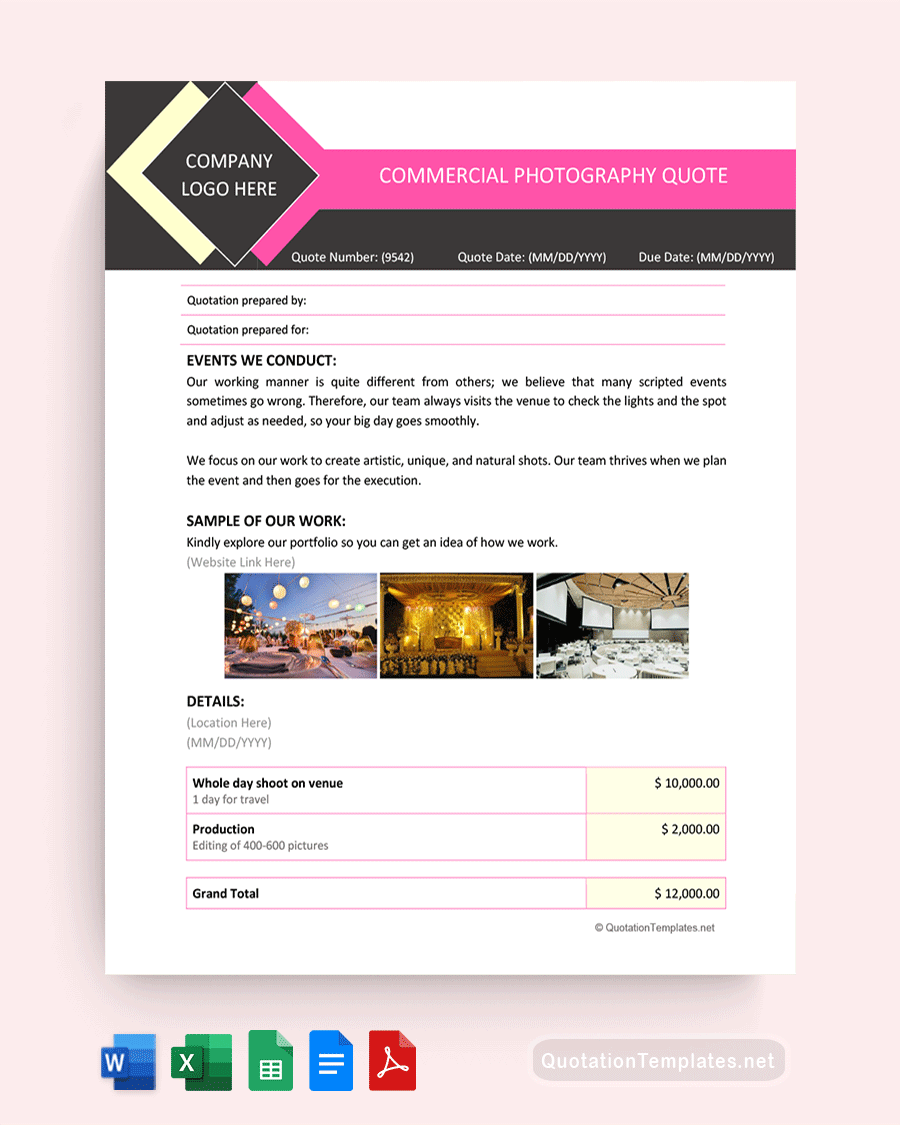
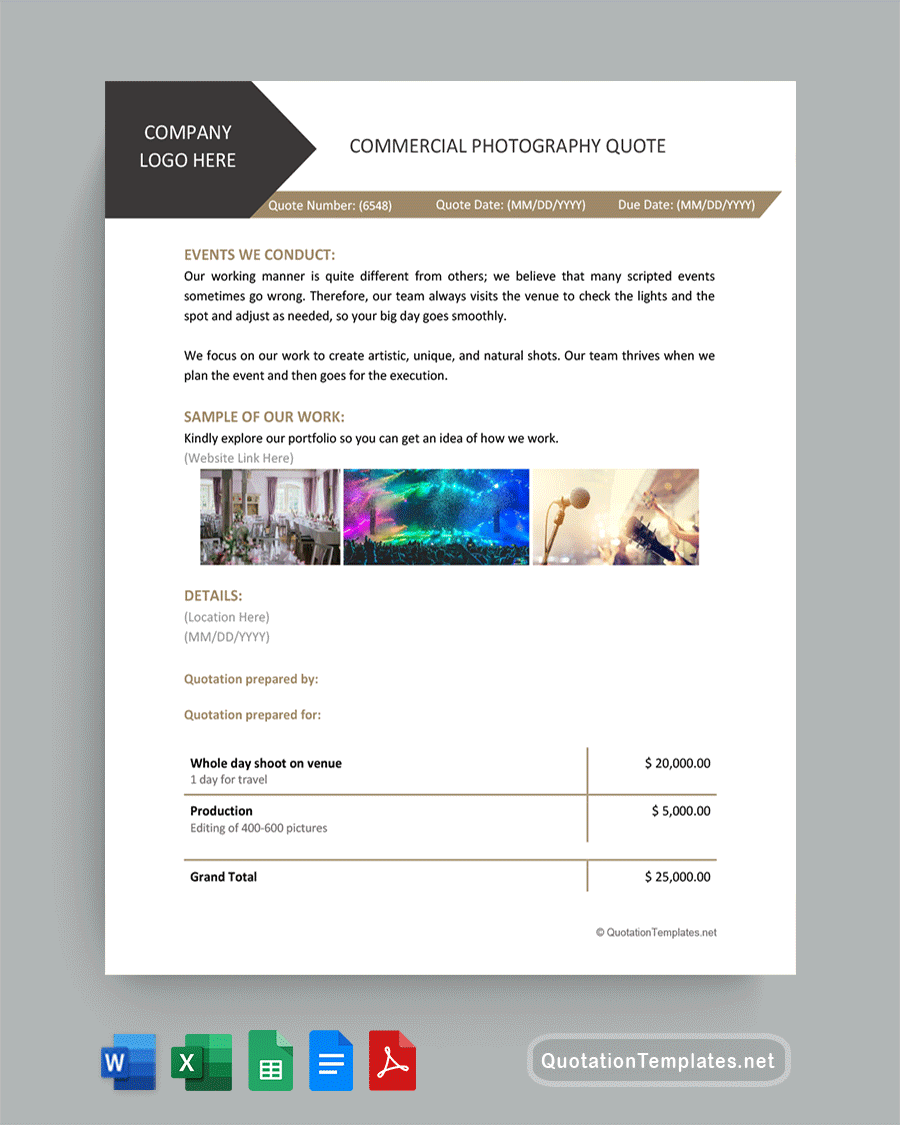
Customers who shop at big box stores can see the price of their products (minus taxes) right on the shelf or box, but when you run a more service-based business, the pricing model is different. From hotels, spas, and dog groomers to contractors, house painters, wedding photographers, and logo designers, it doesn’t always make sense to have a posted flat rate. How do you communicate that with customers? You need a good quote template. Once you have perfect quote template in Excel, it’s easy to input only the data for each specific request, quickly making custom, professional quotes for people who are seeking to engage your services or comparison shop.
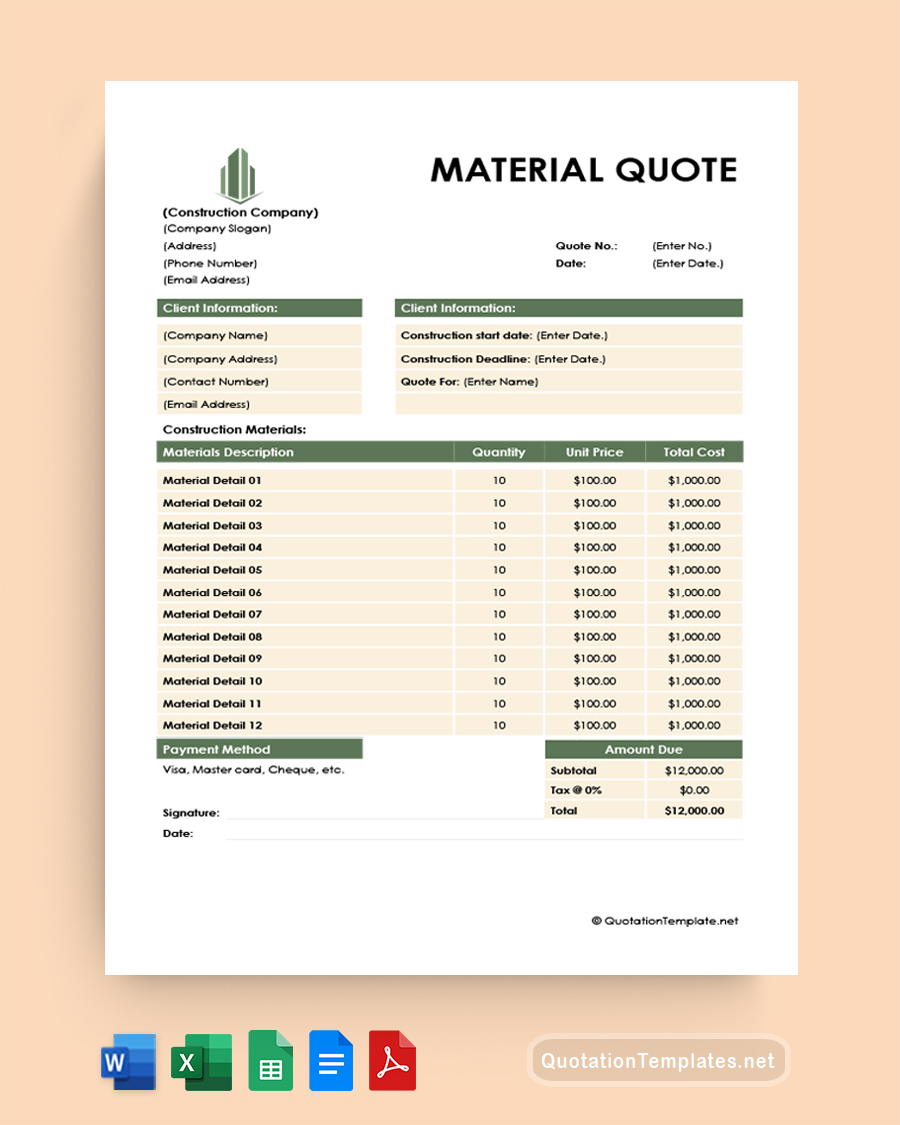
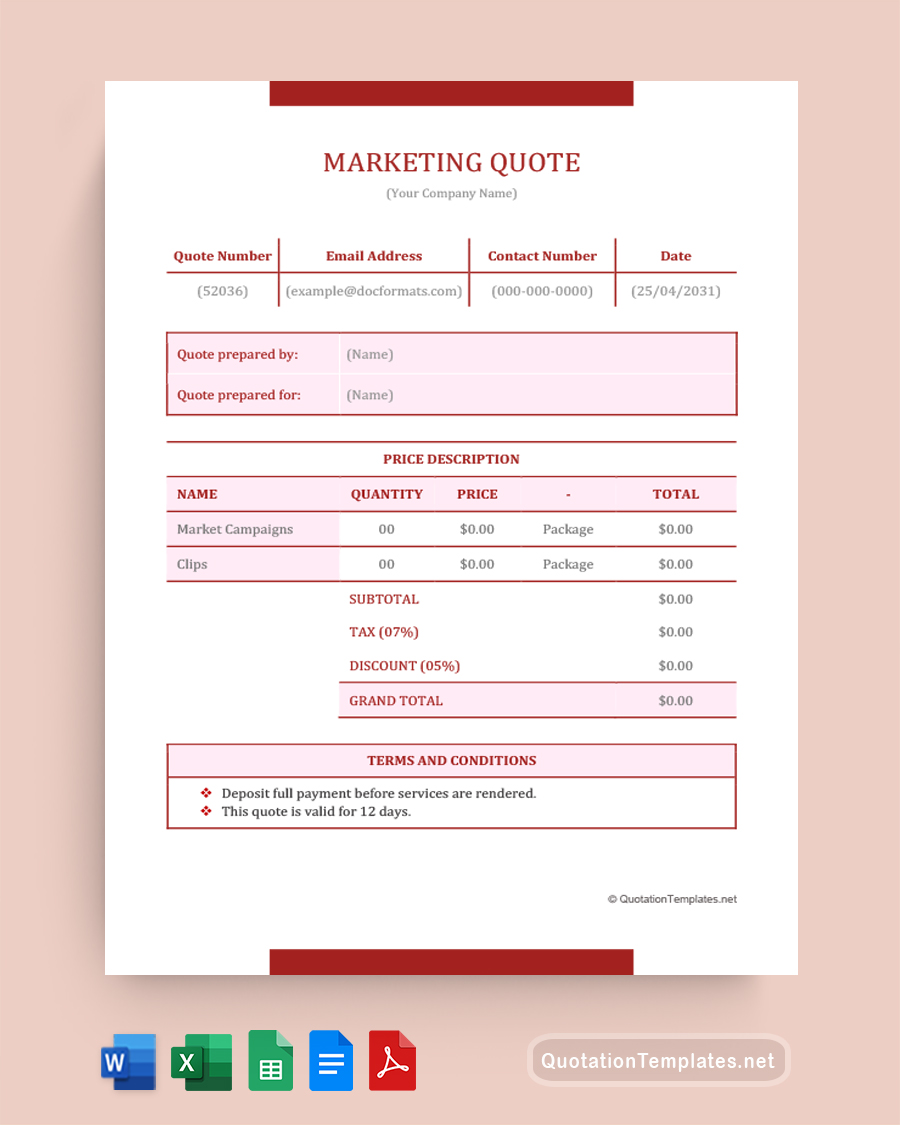
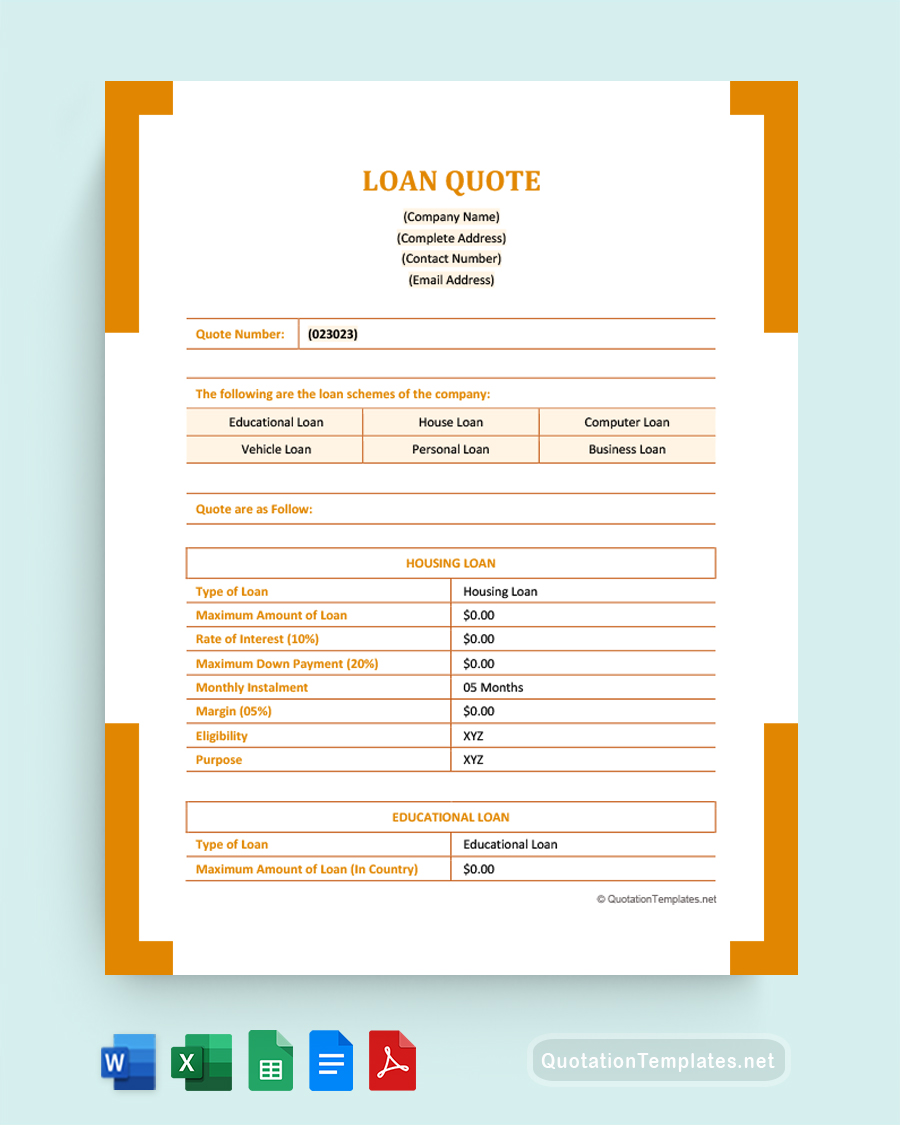
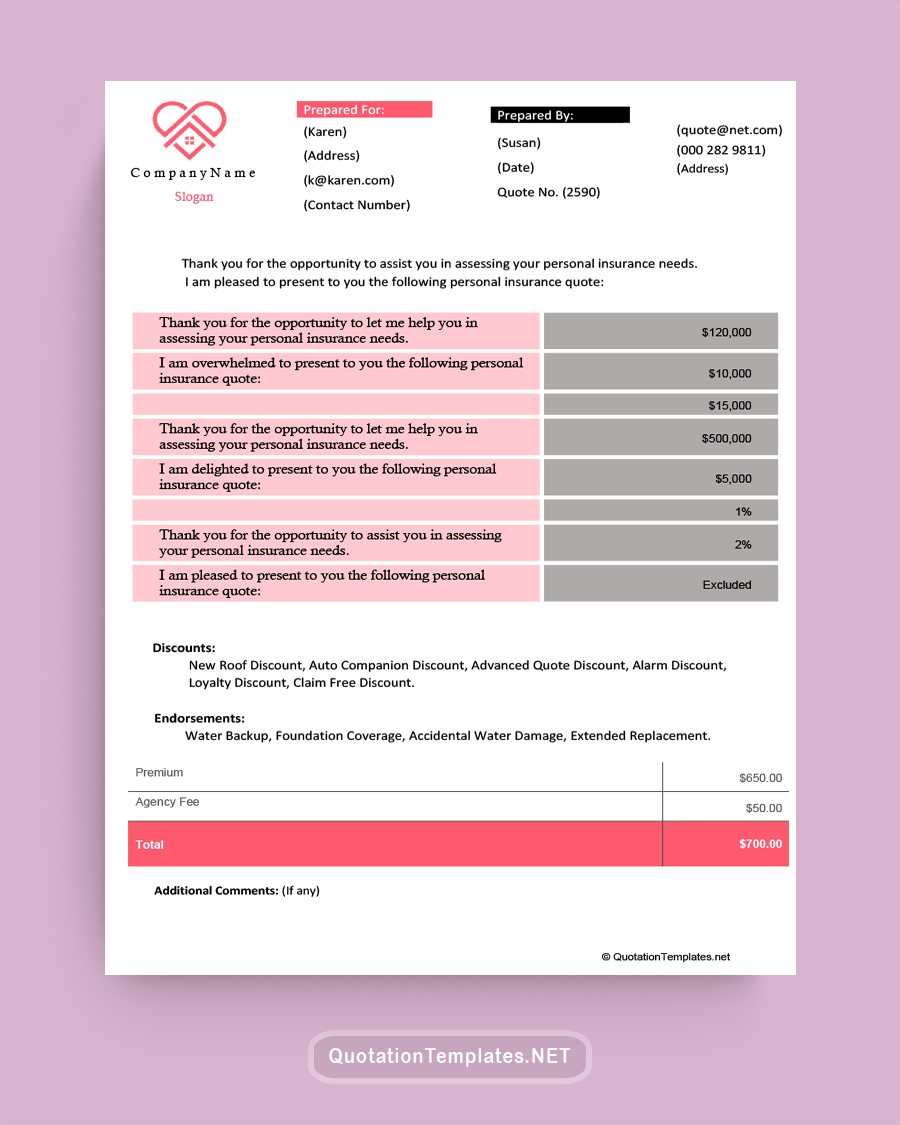
- 1
- 2
A good quote is extremely easy to read, but it should also be relatively quick to create. No one wants to spend hours writing new quotes, from scratch, on blank sheets every time someone wants to know what your services cost. Reusable templates are handy for saving time, making it easy to keep track of jobs, and converting inquiries into paying work. Creating yours in Excel has some added benefits, like accessibility and security options. All the templates our expert’s design are Excel-compatible and can be quickly and easily modified. However, this article will teach you how to create your own new, entirely custom for your business quote template.
What Is an Excel Quote Template?
A quote template for Excel is a blank fillable form that shows clients and potential clients of businesses what the going hourly rates, service fees, and other associated costs are at this time. However, the quotes themselves are time-sensitive. These templates are most often used by service businesses like contractors, photographers, and lawn care professionals who, unlike brick-and-mortar stores, do not traditionally have (only) physical products at fixed rates.
Essential Elements of a Quote Template
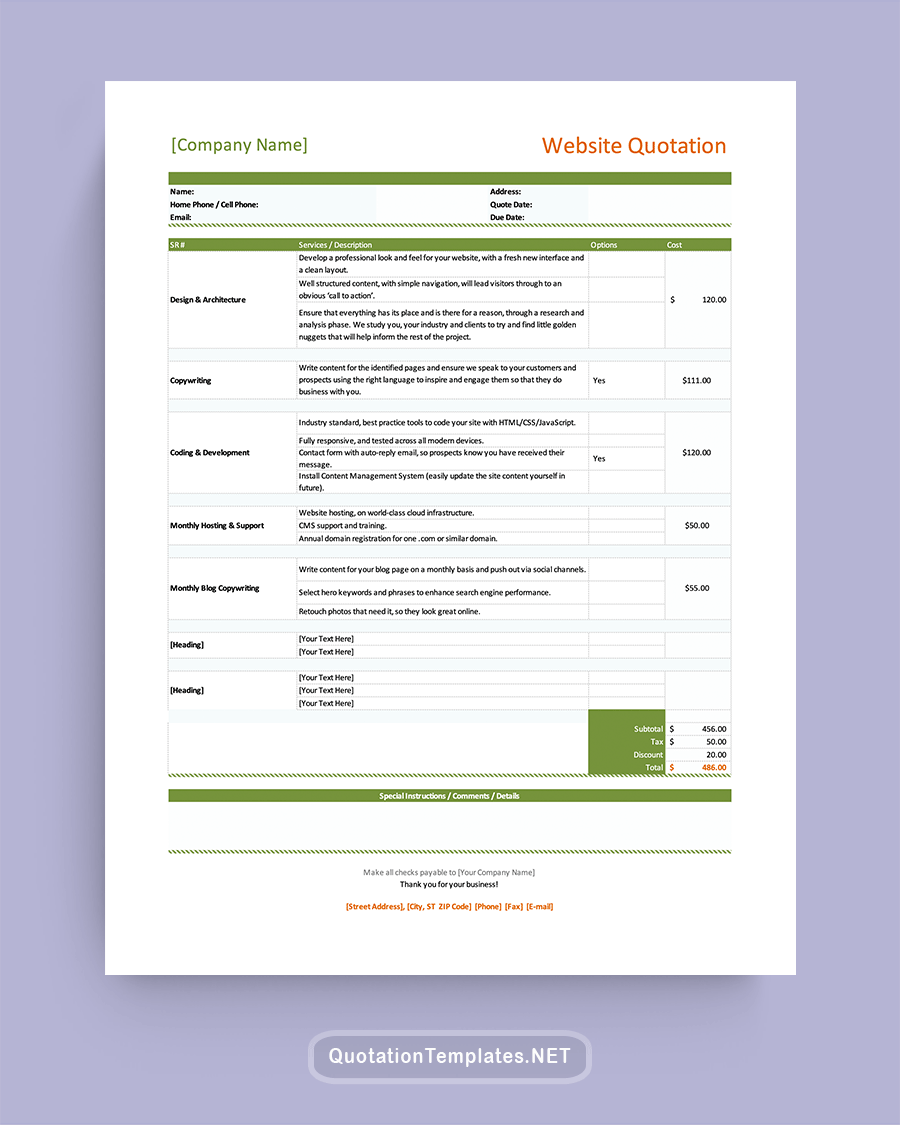
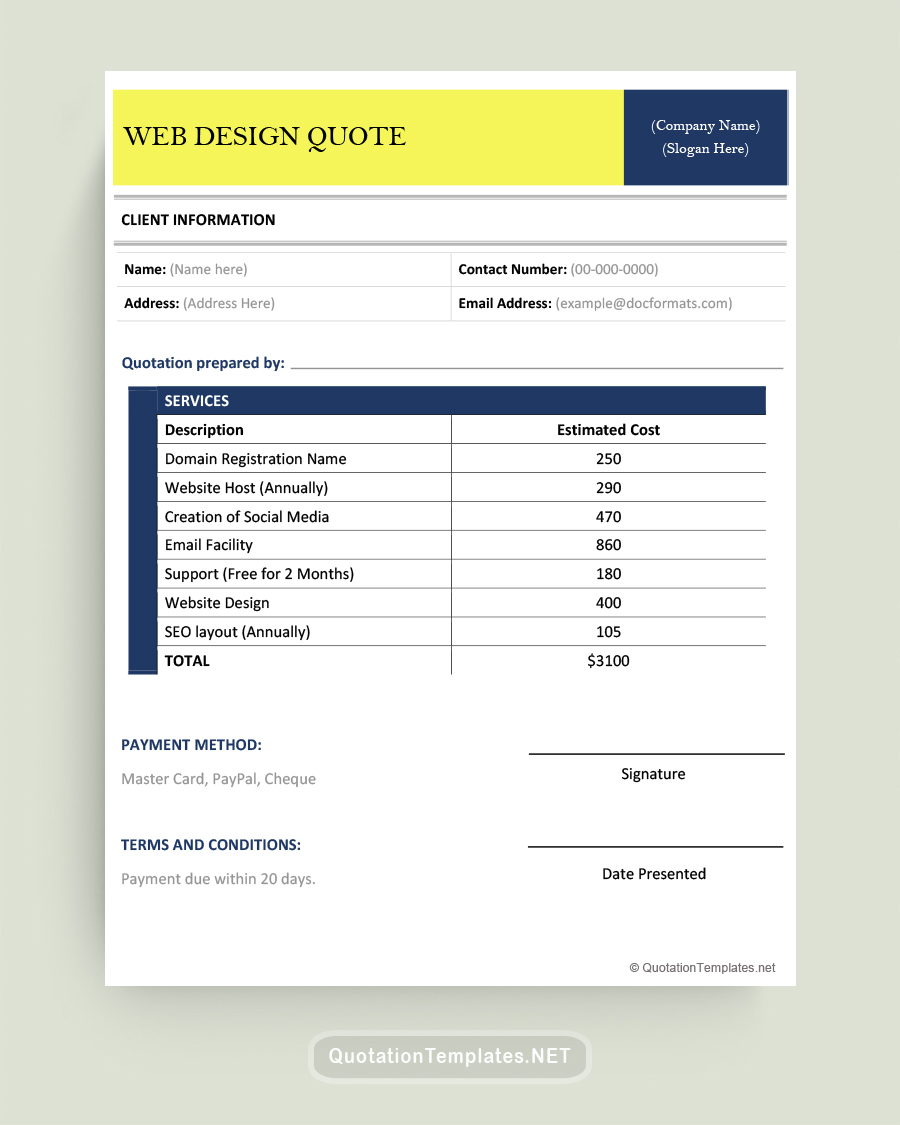
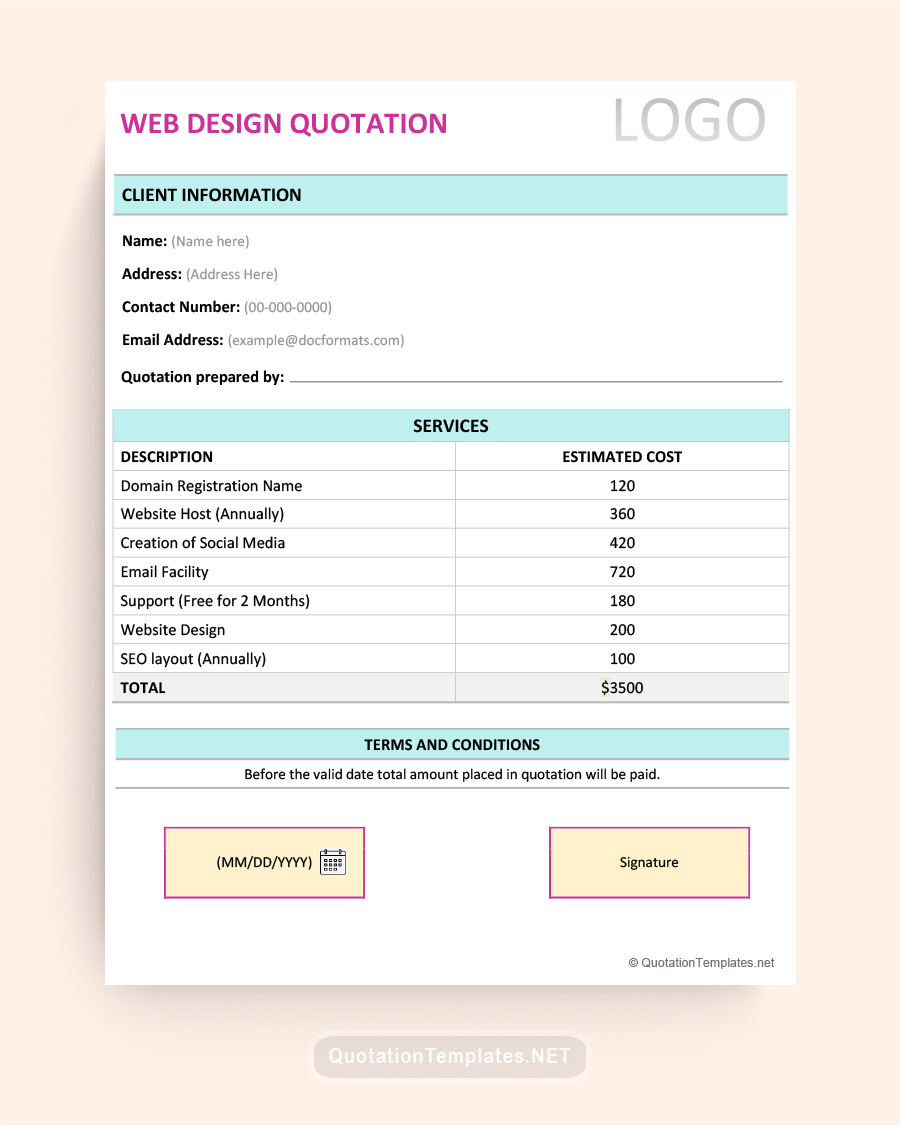
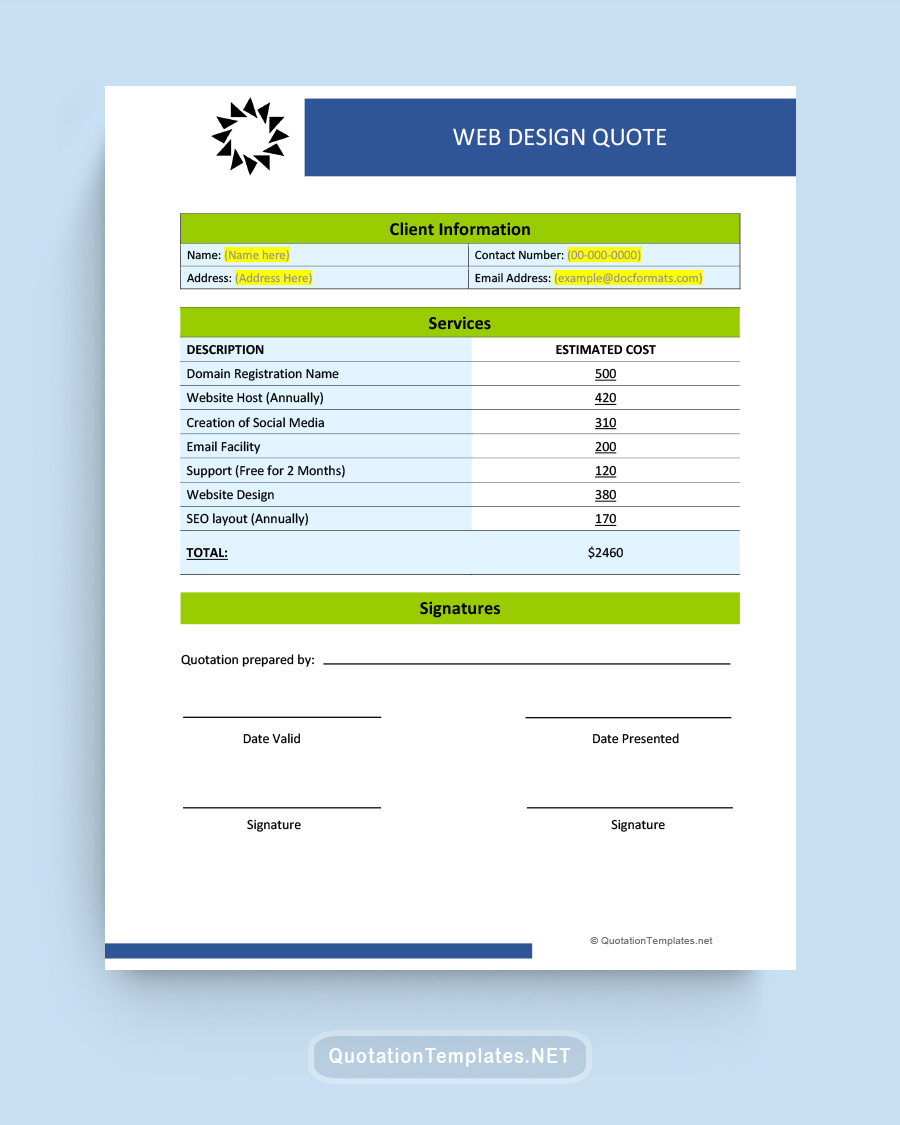
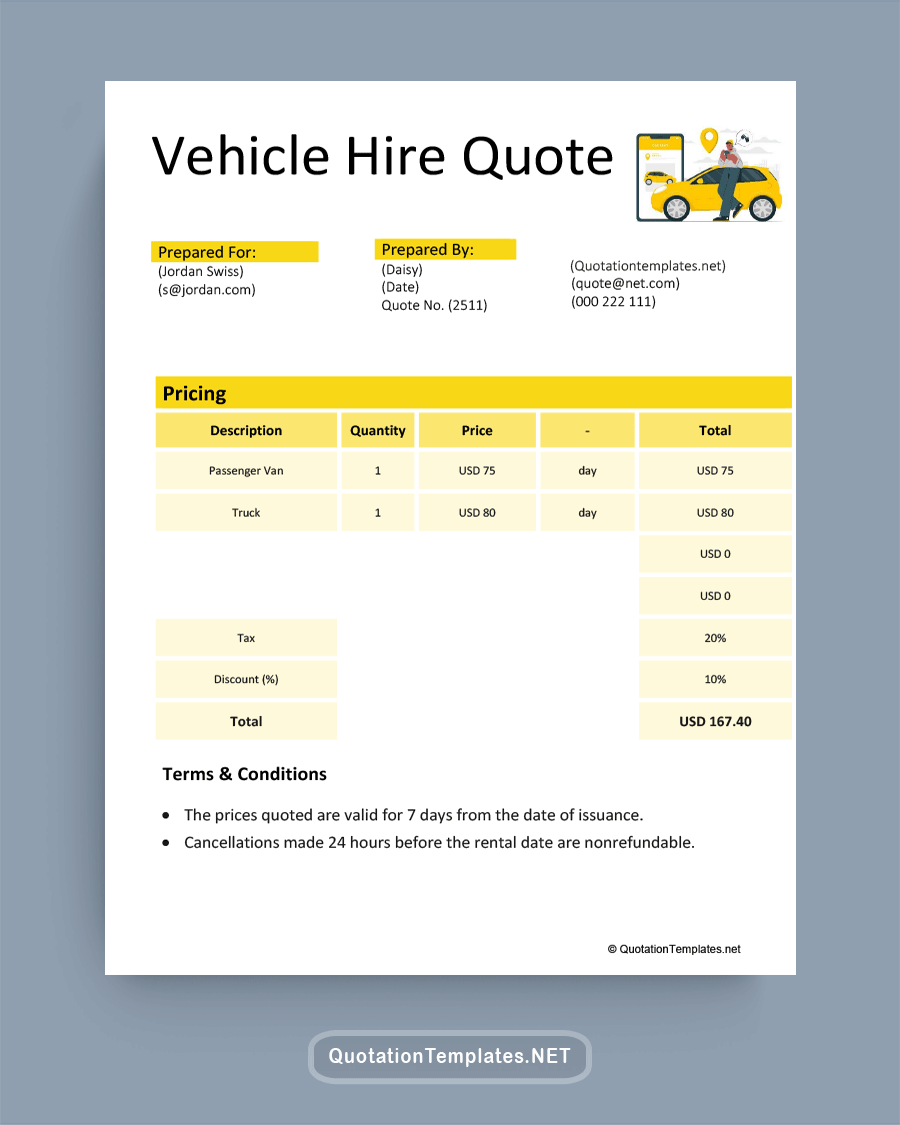
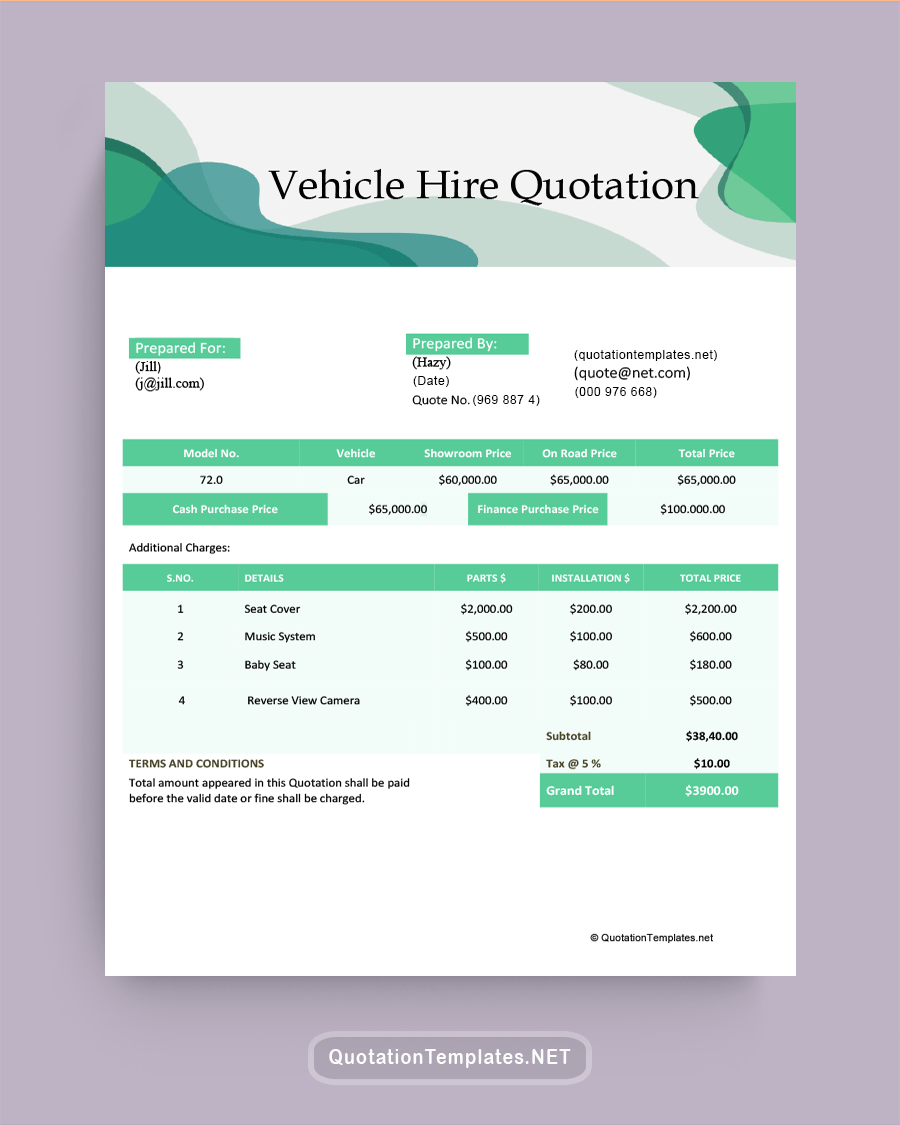
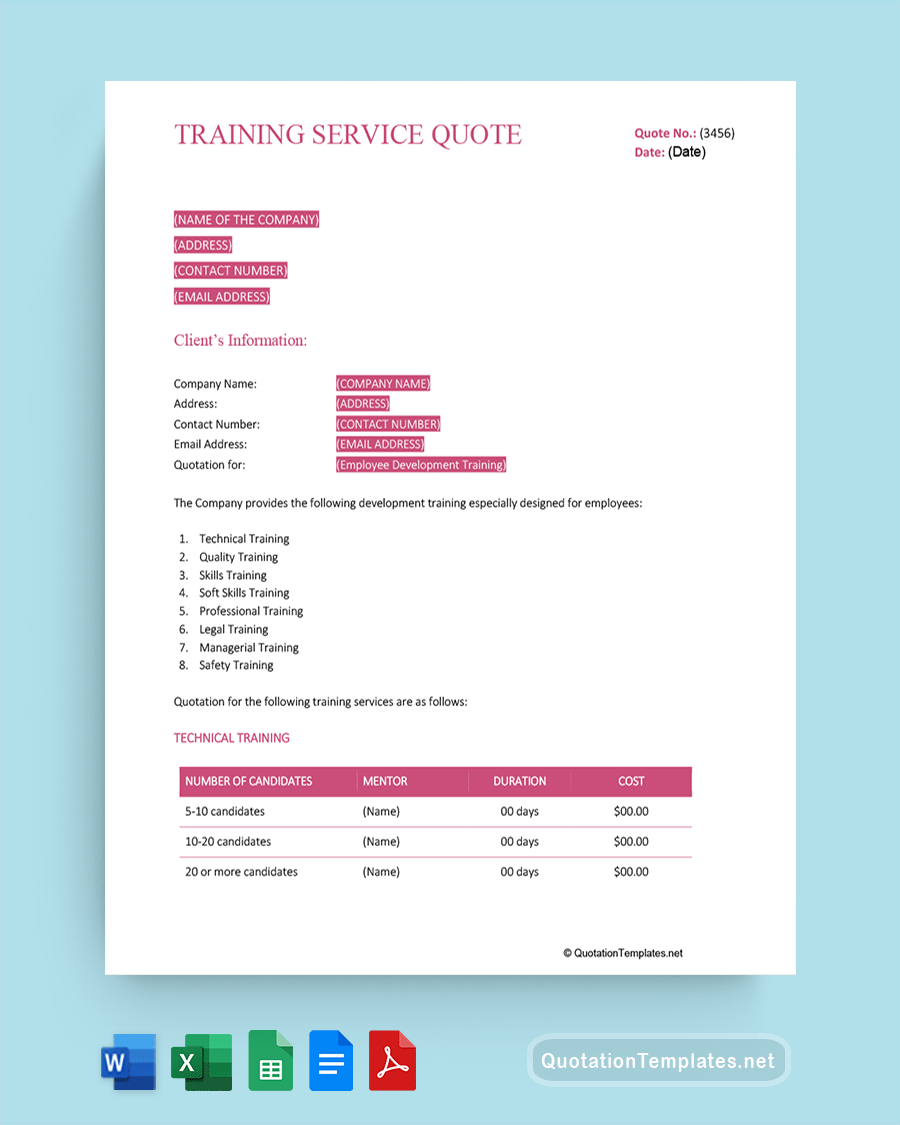
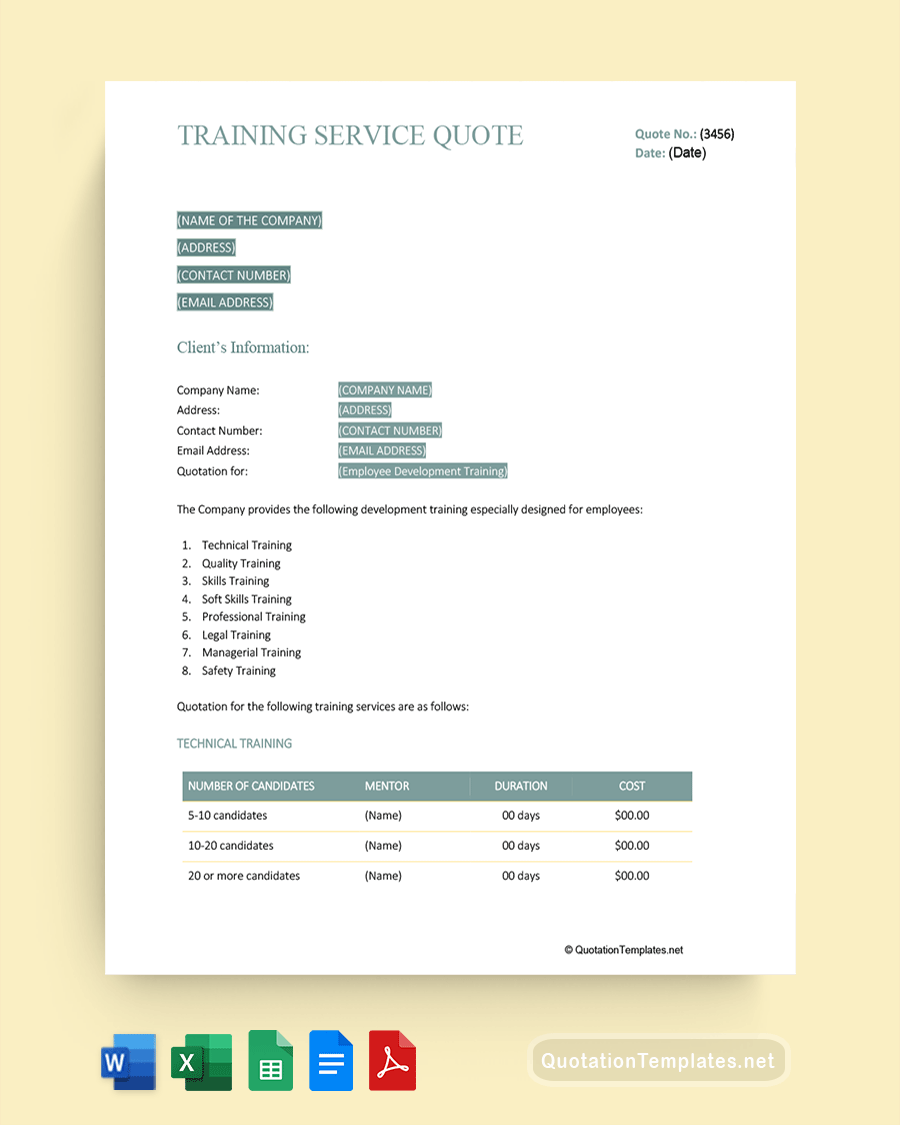
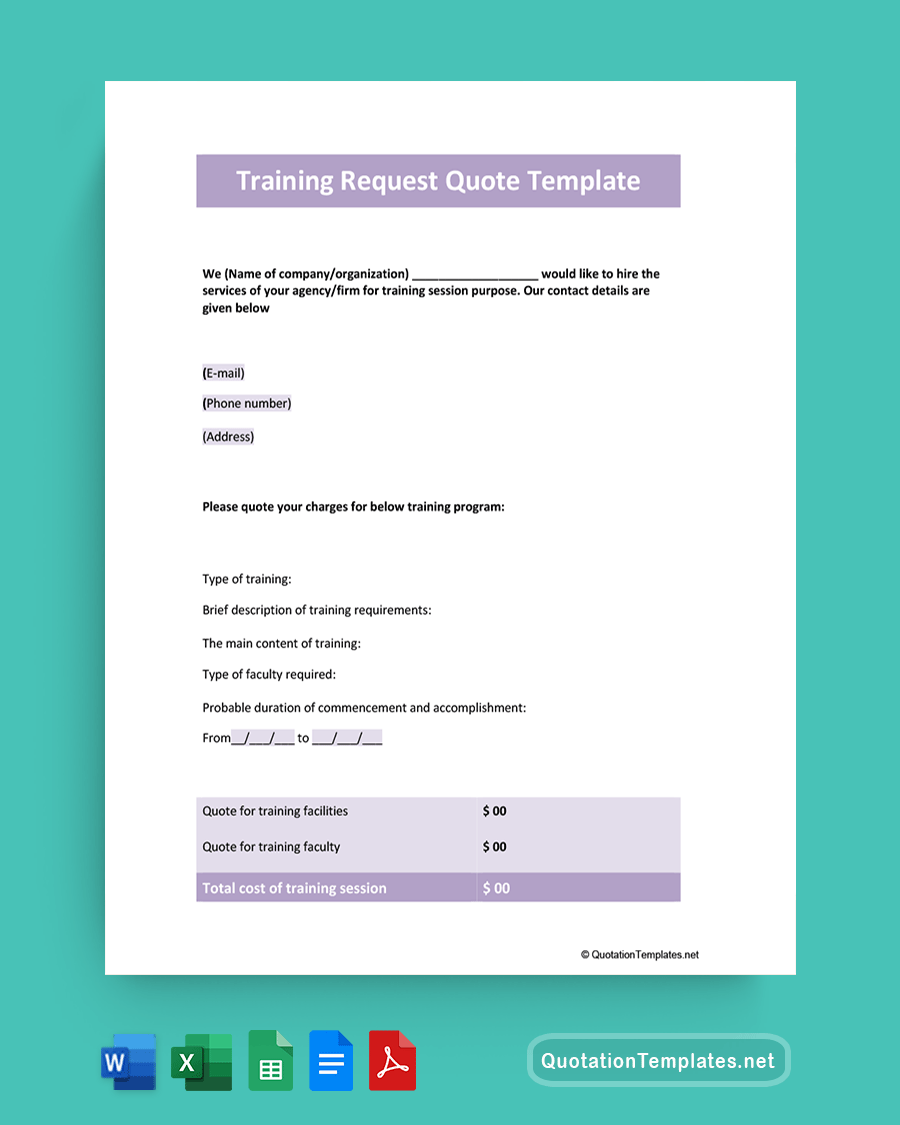
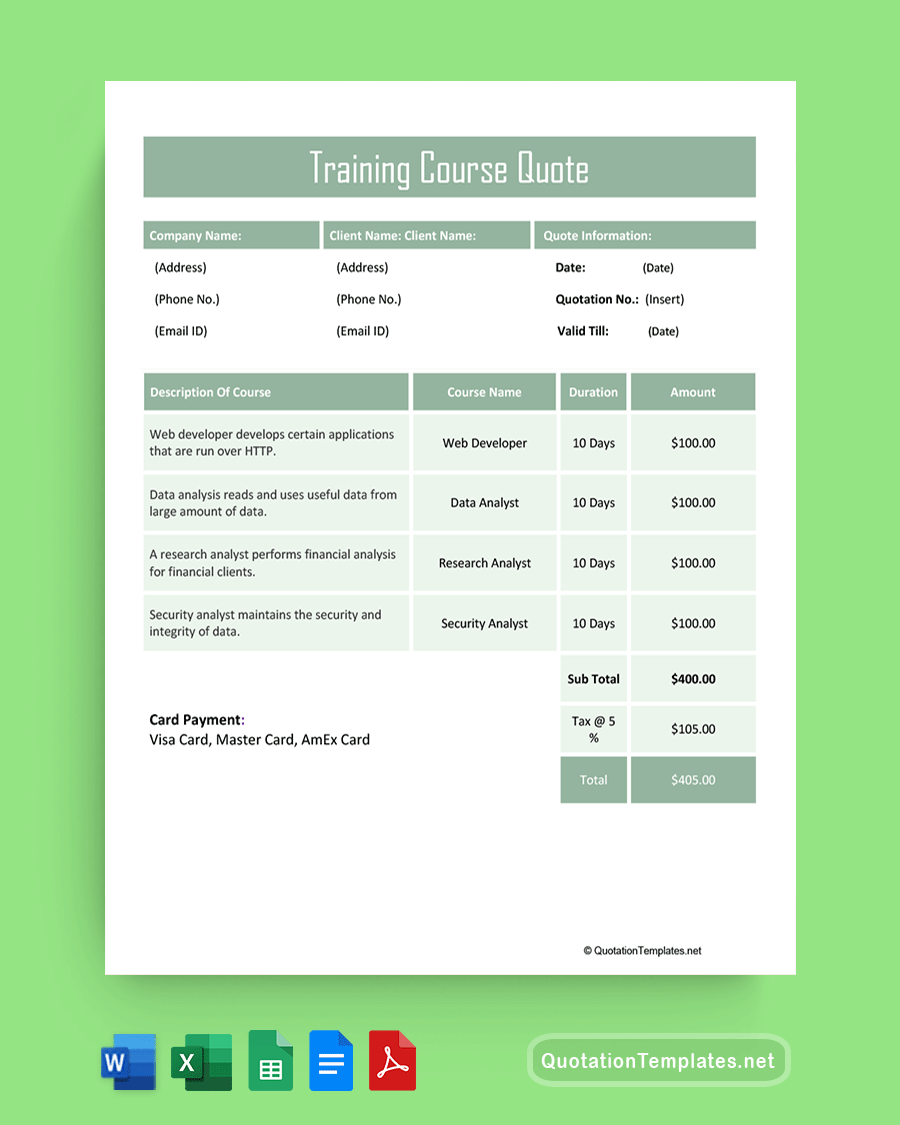
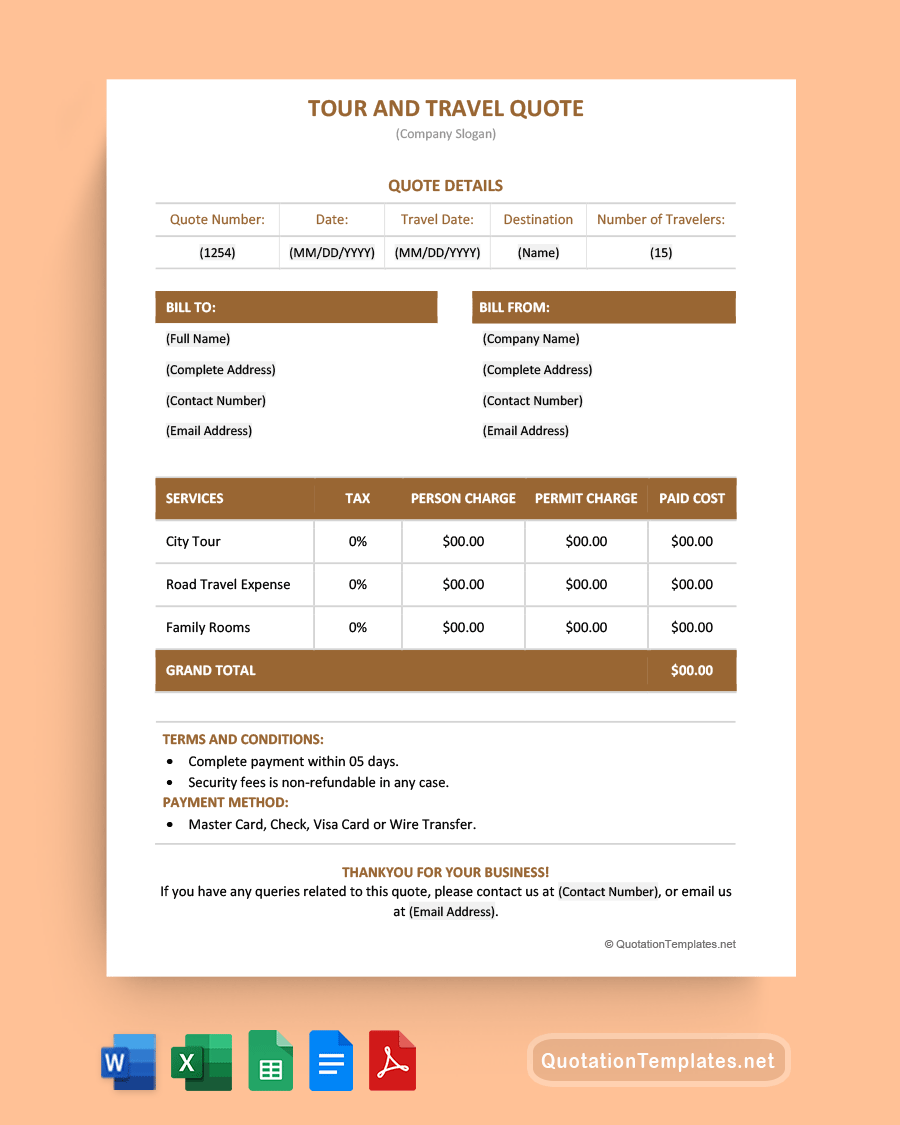
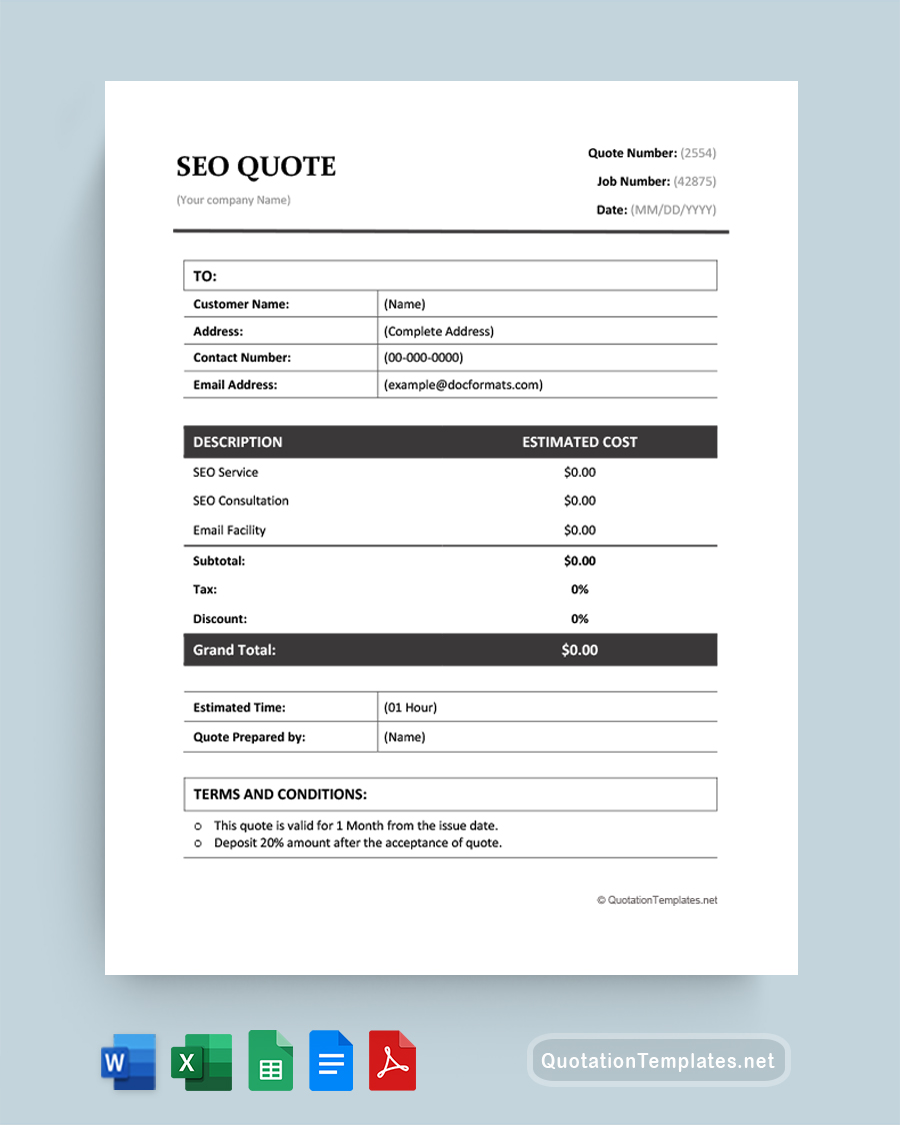
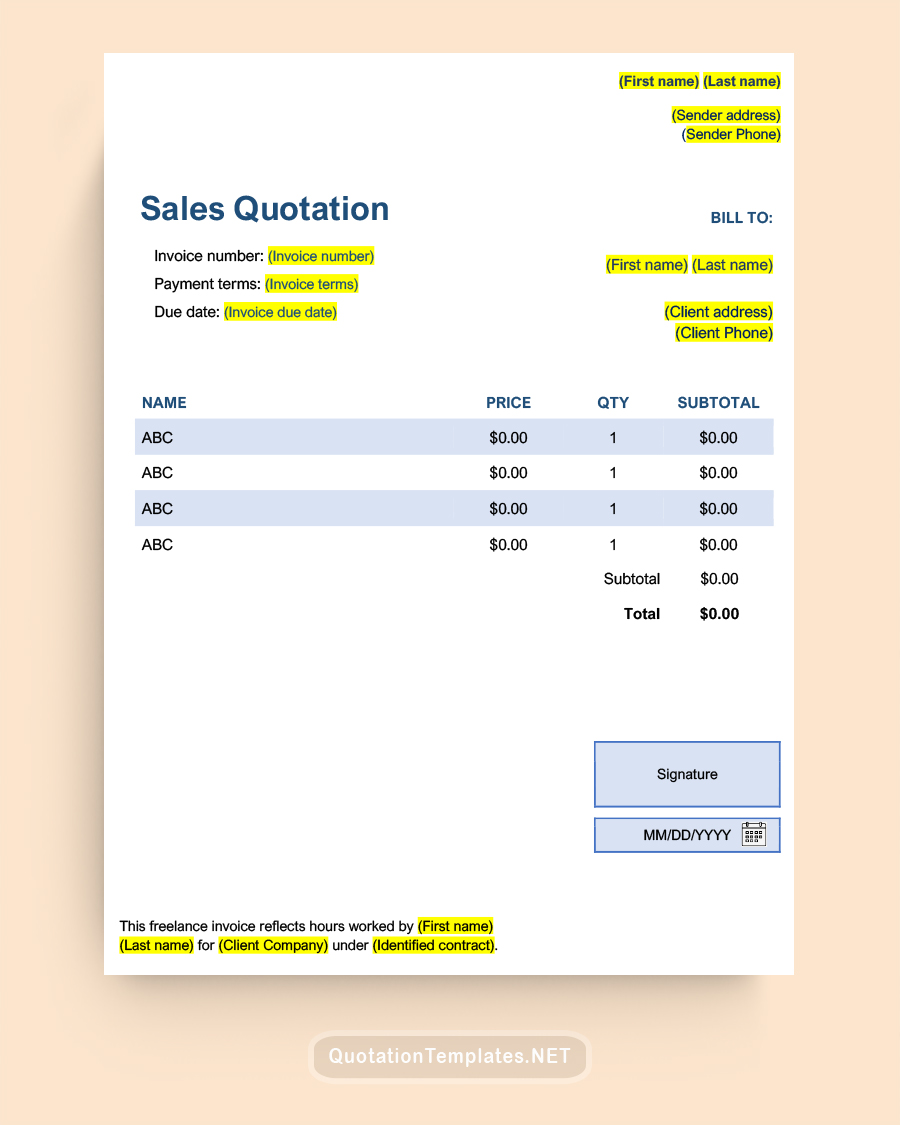
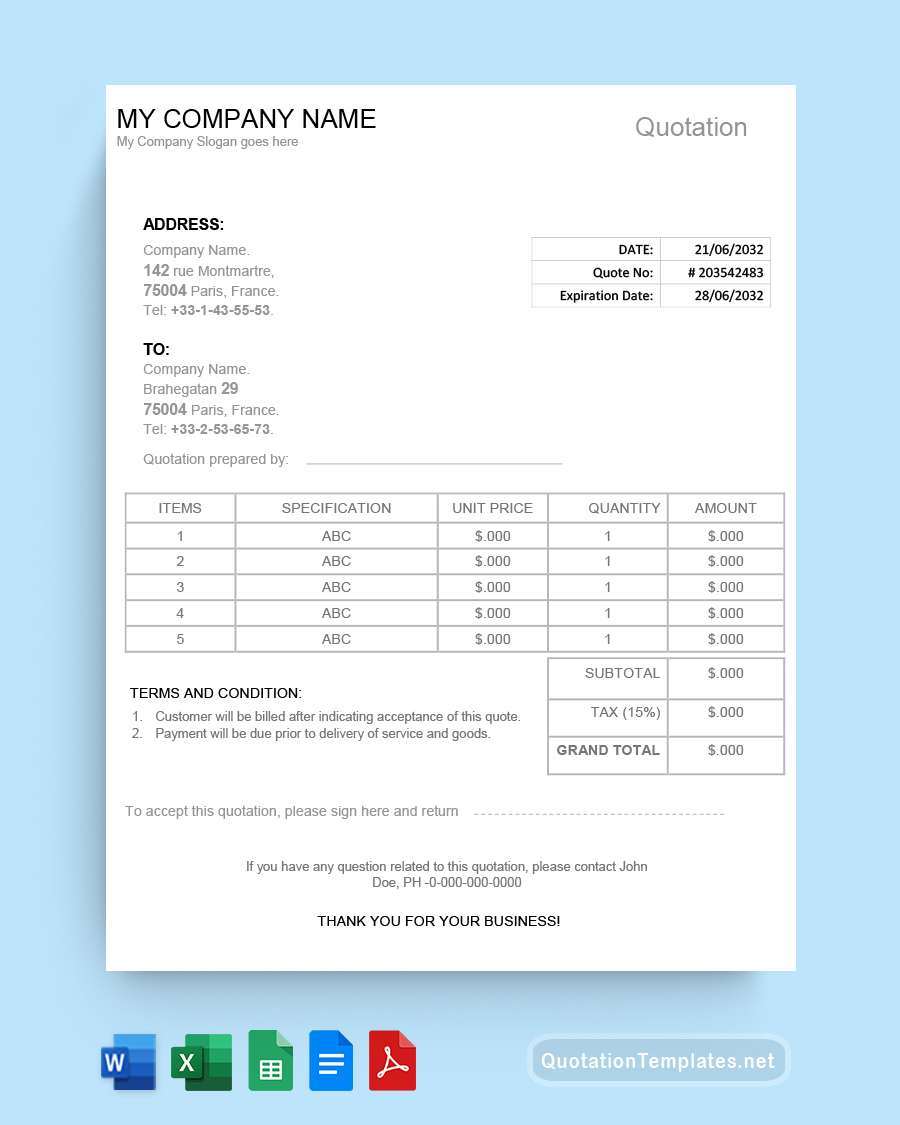
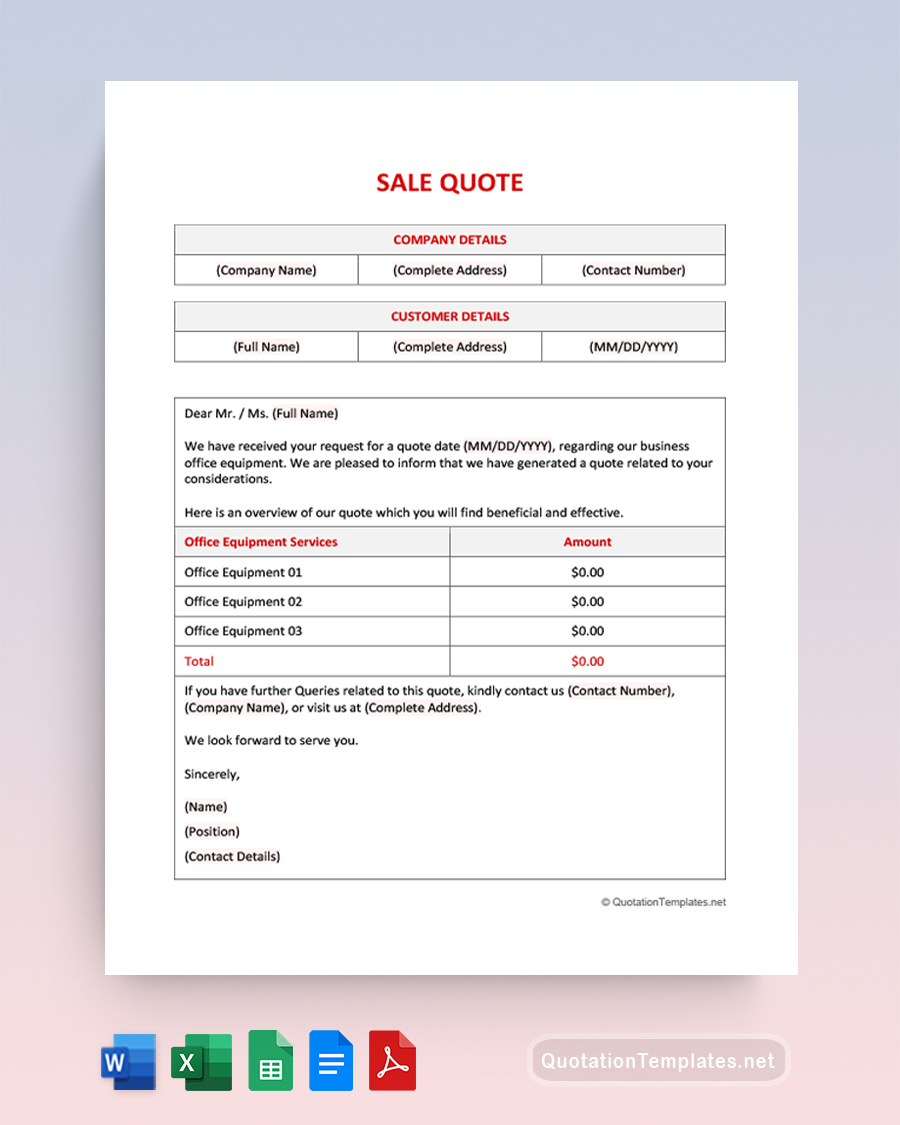
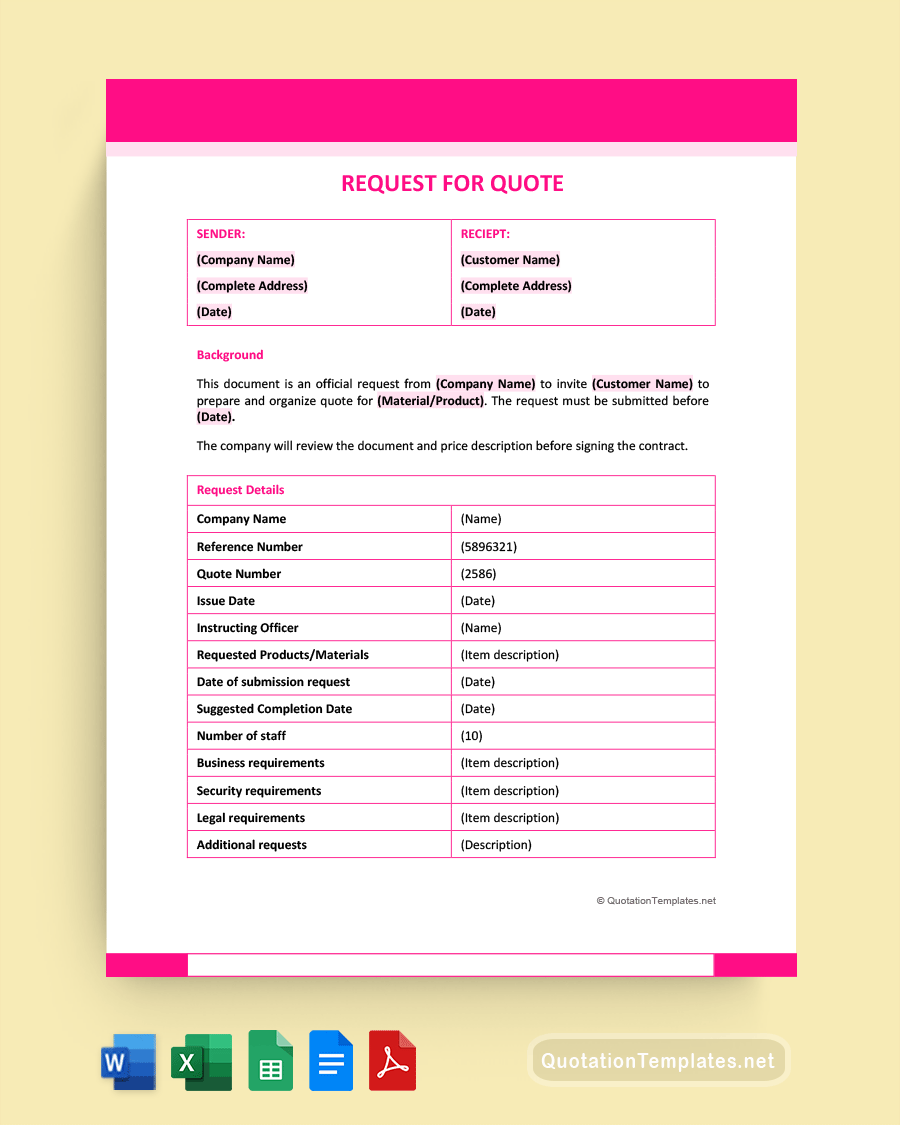
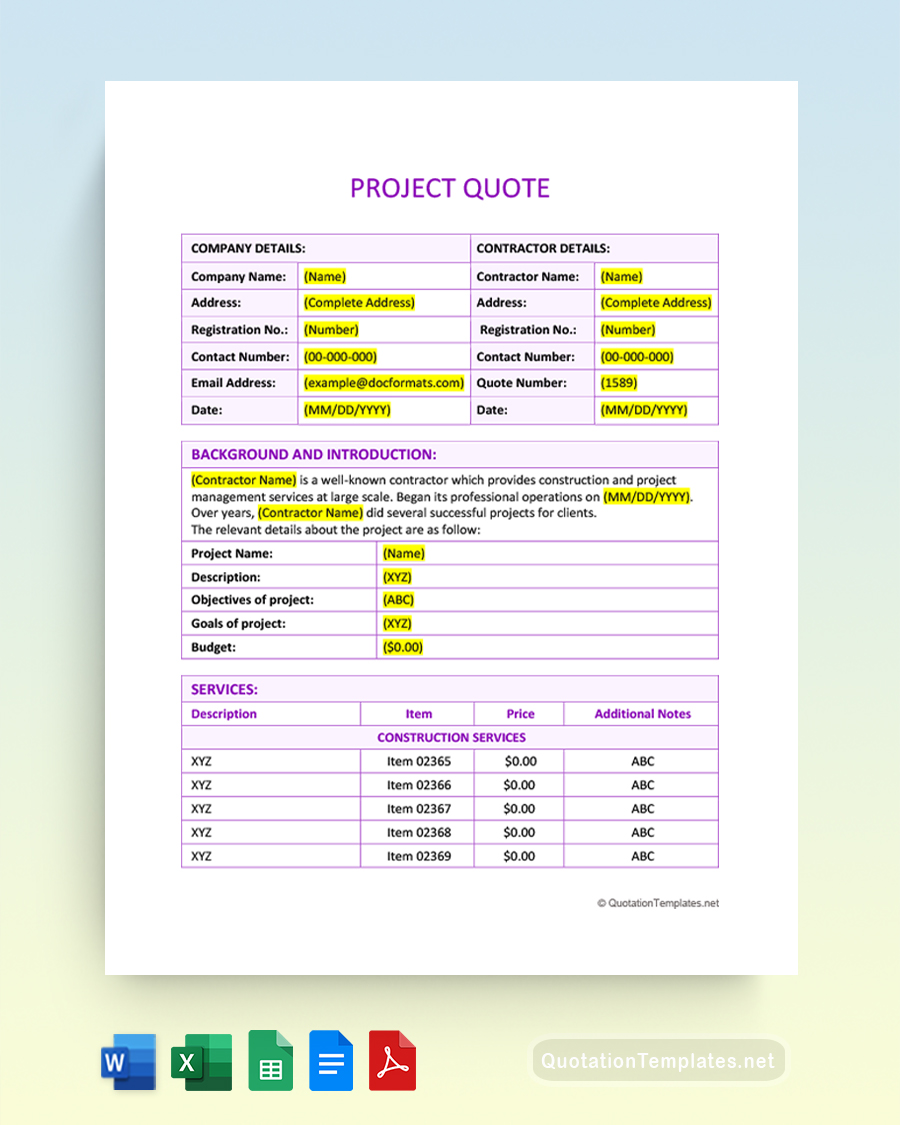
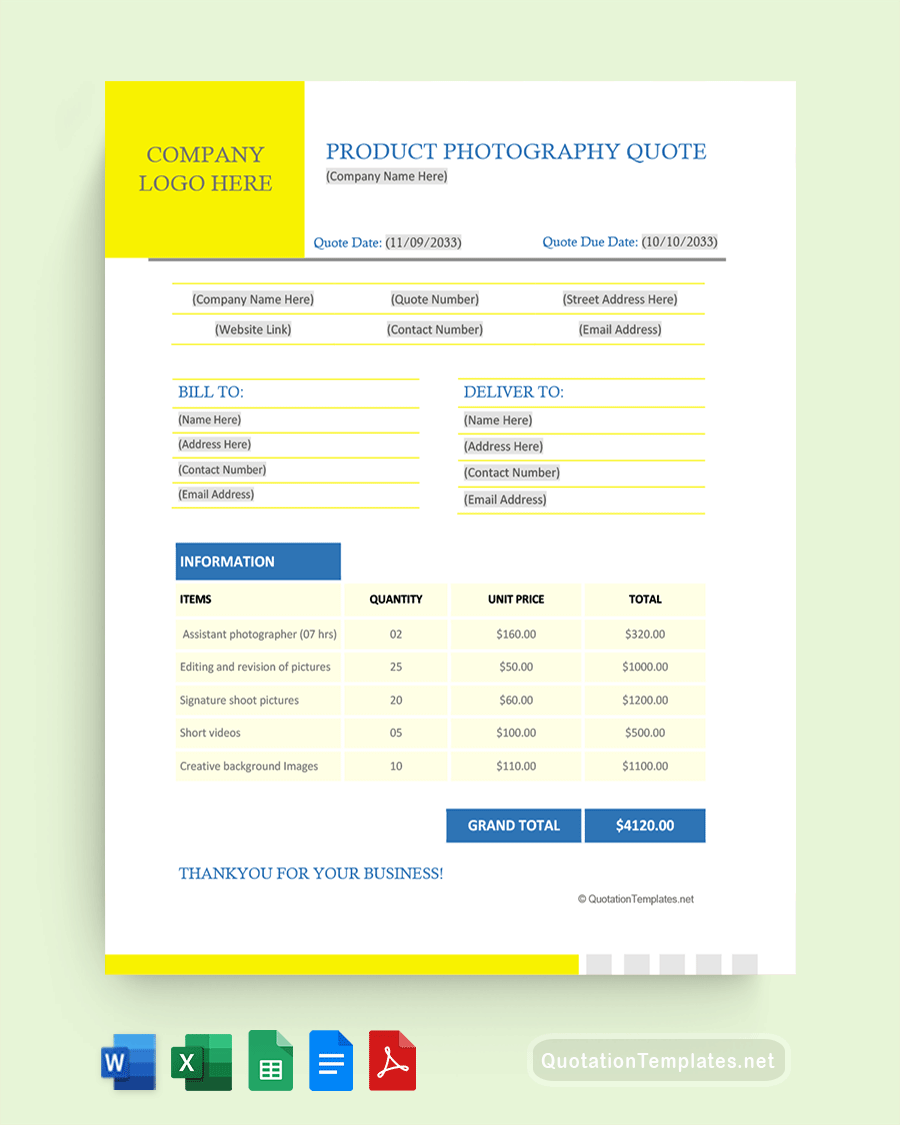
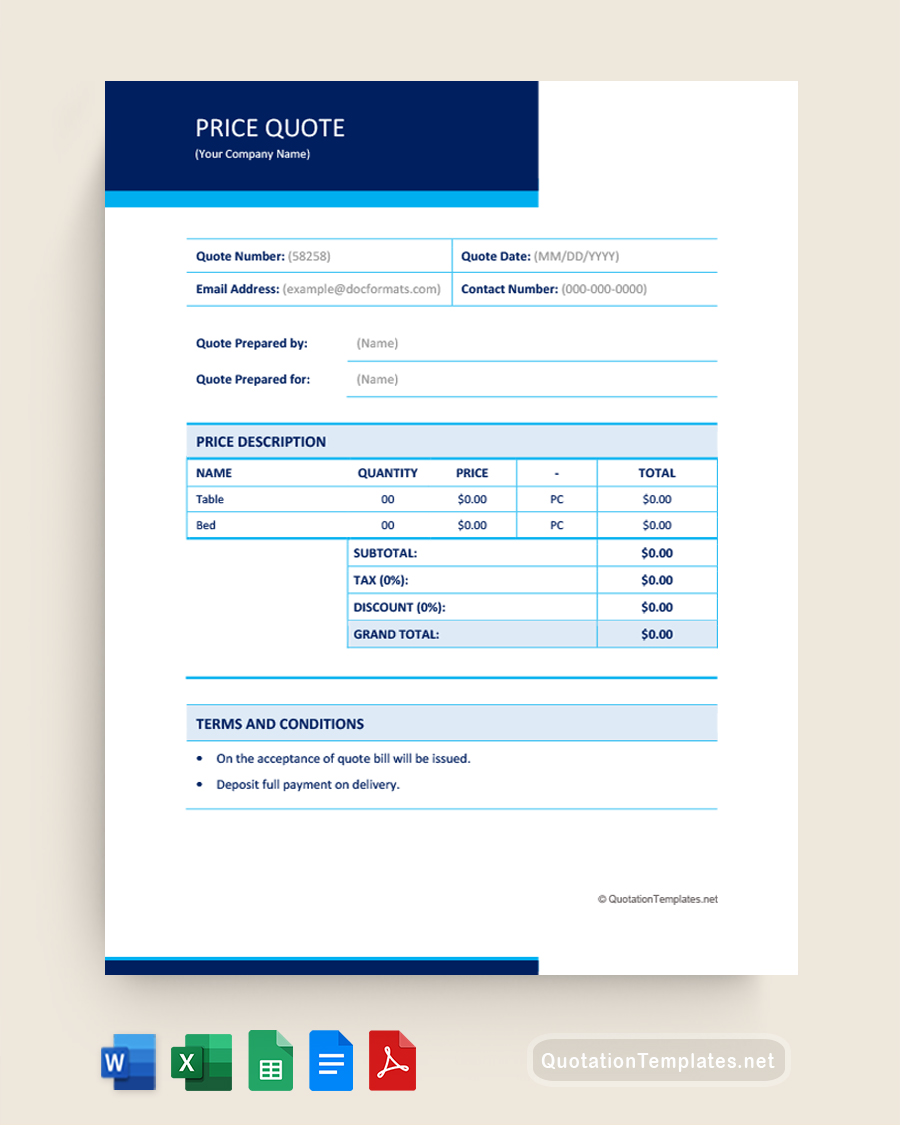
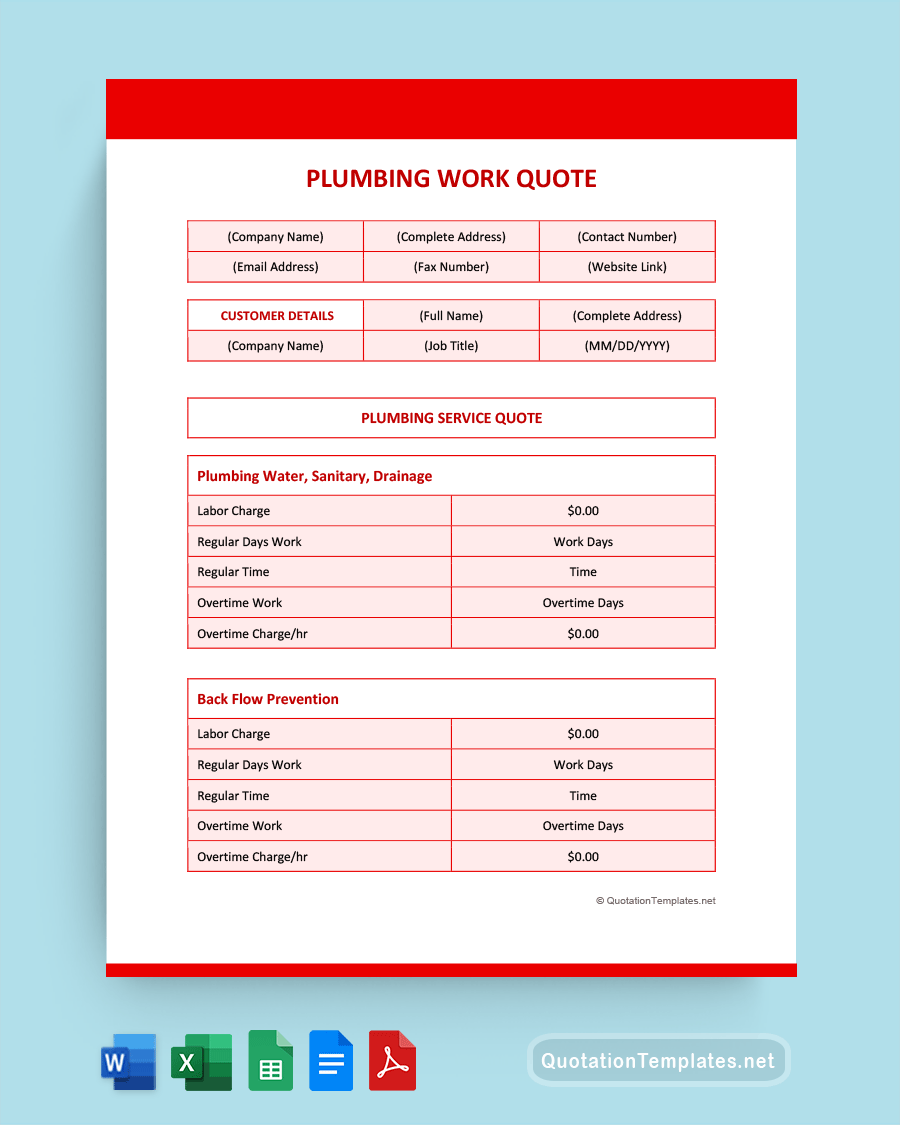
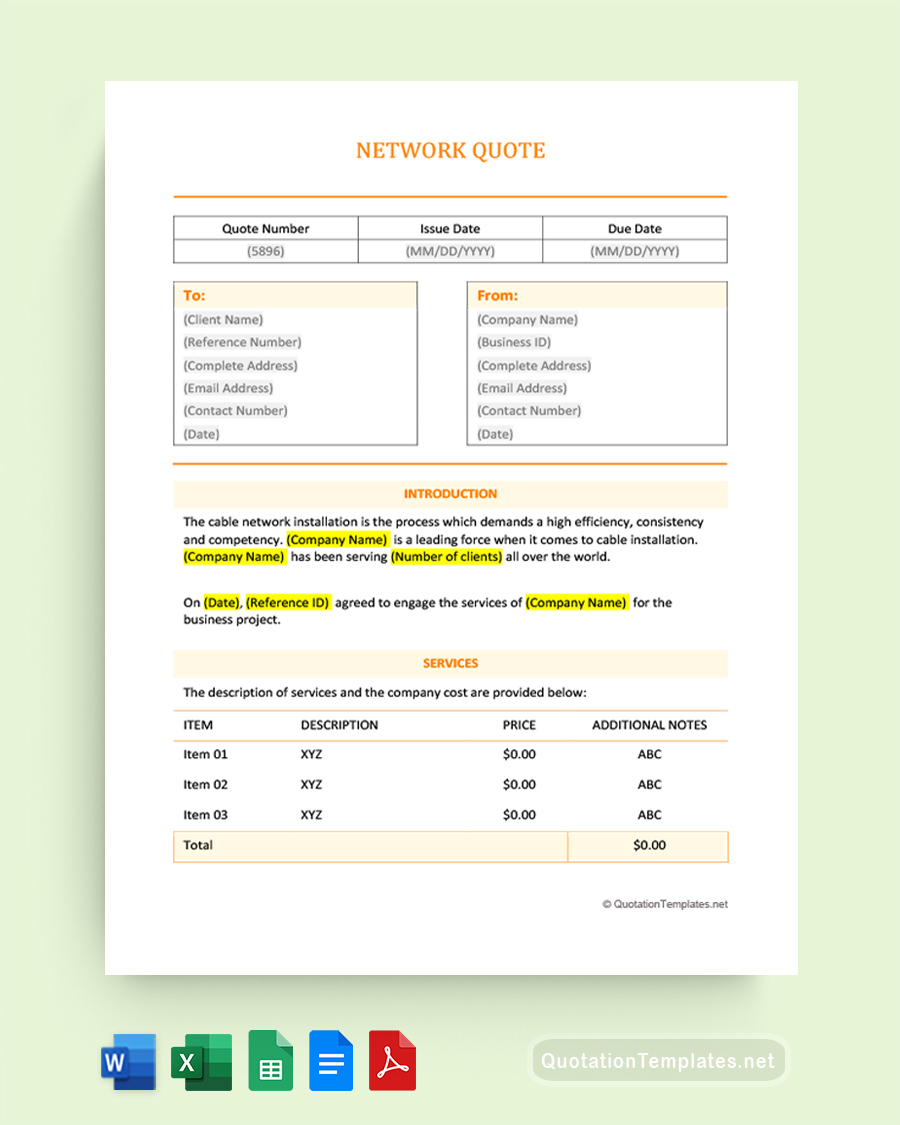
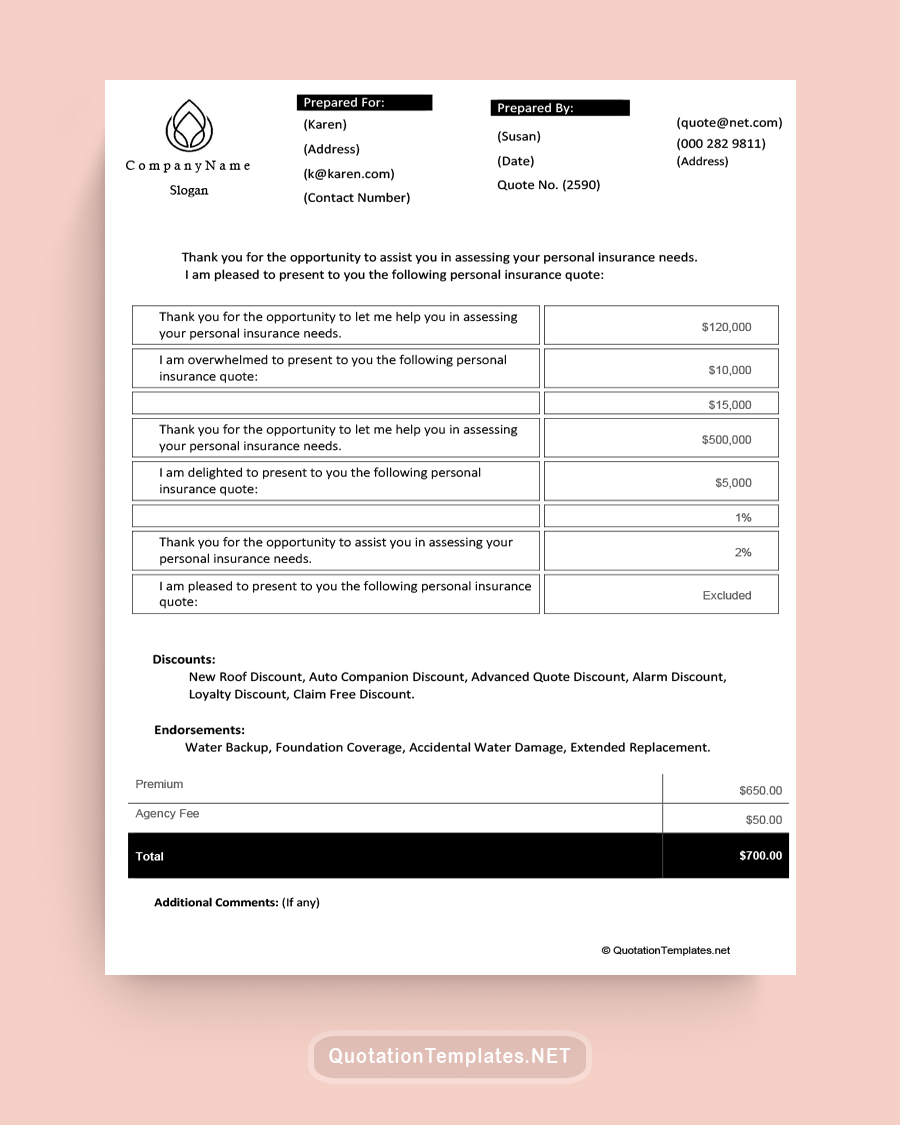
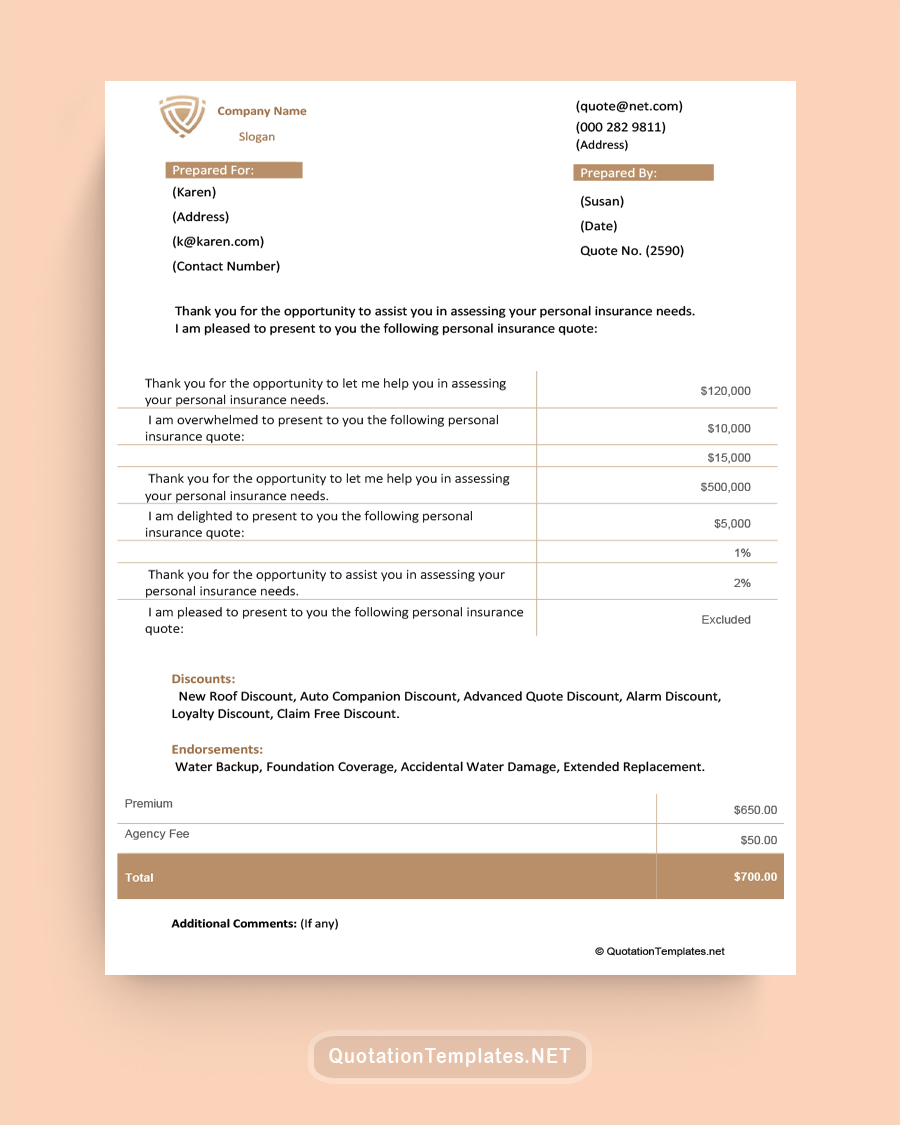
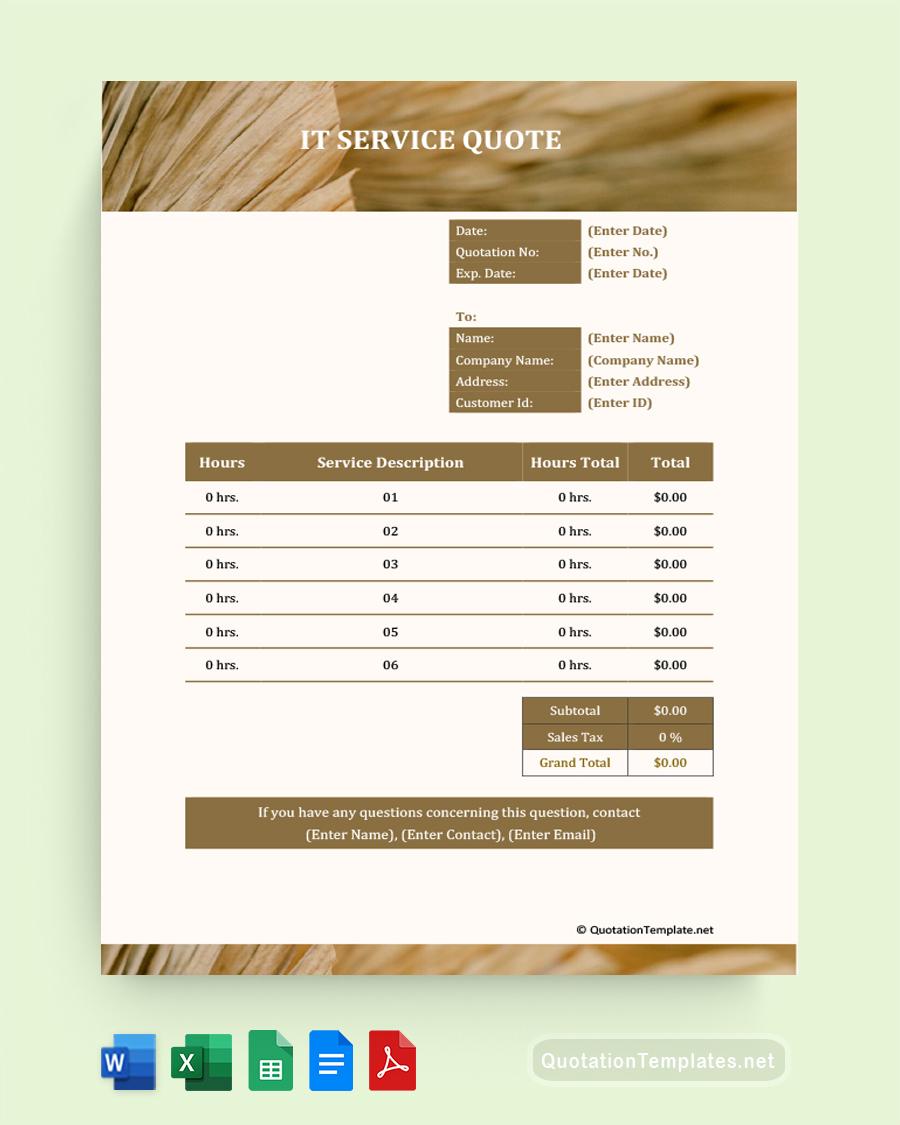
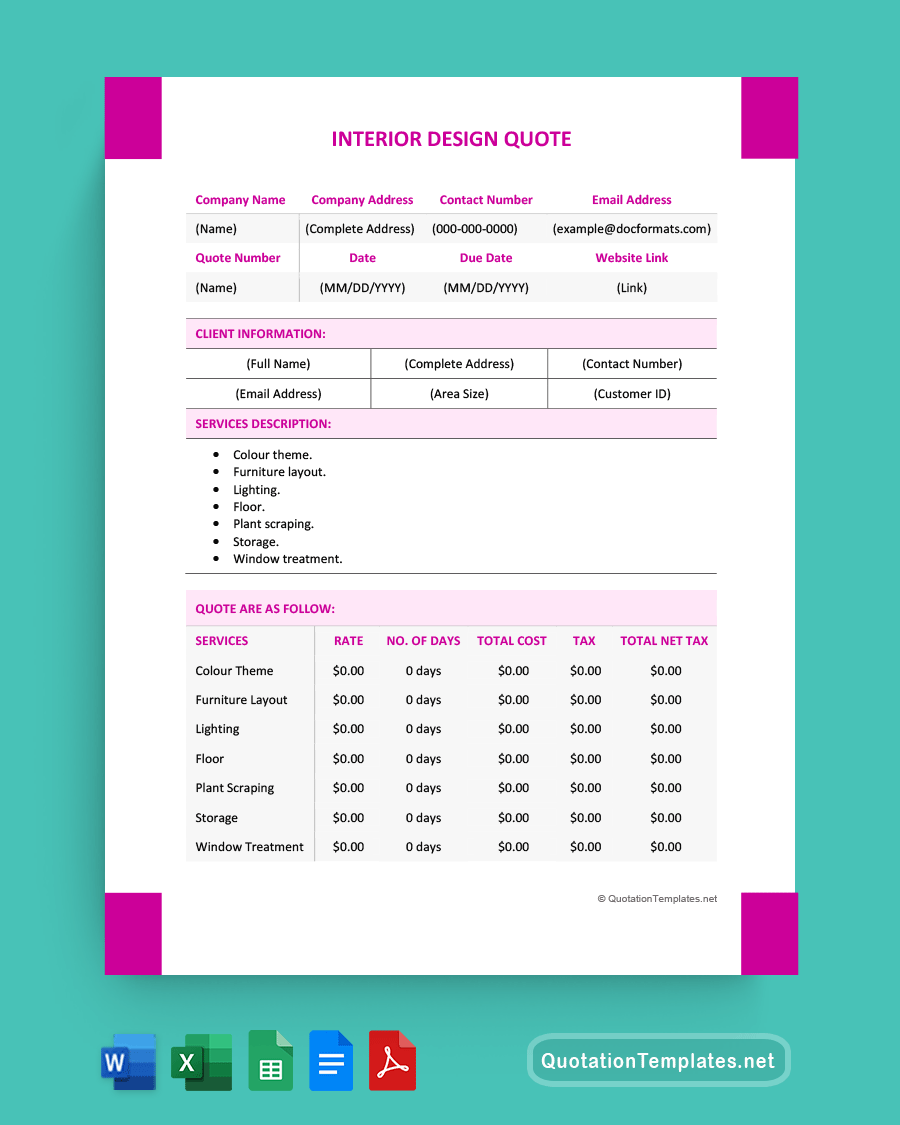
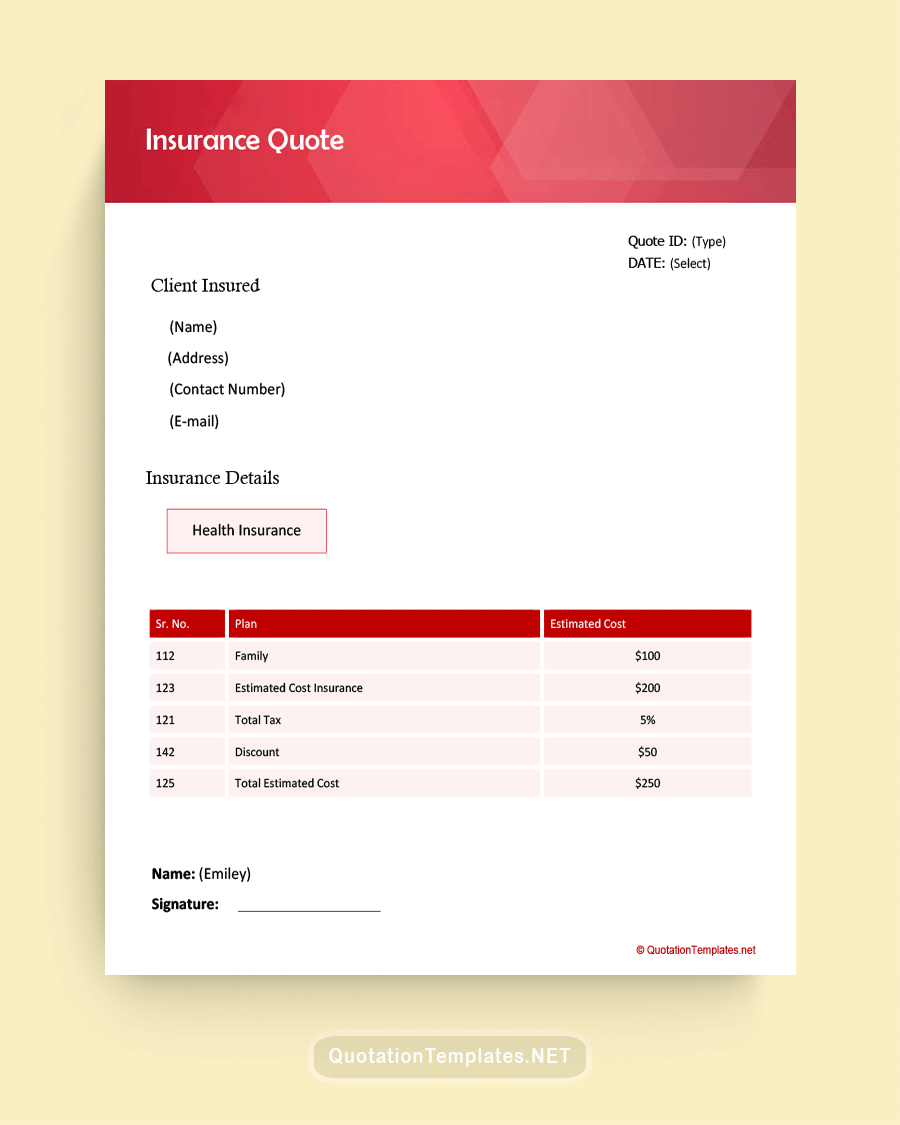
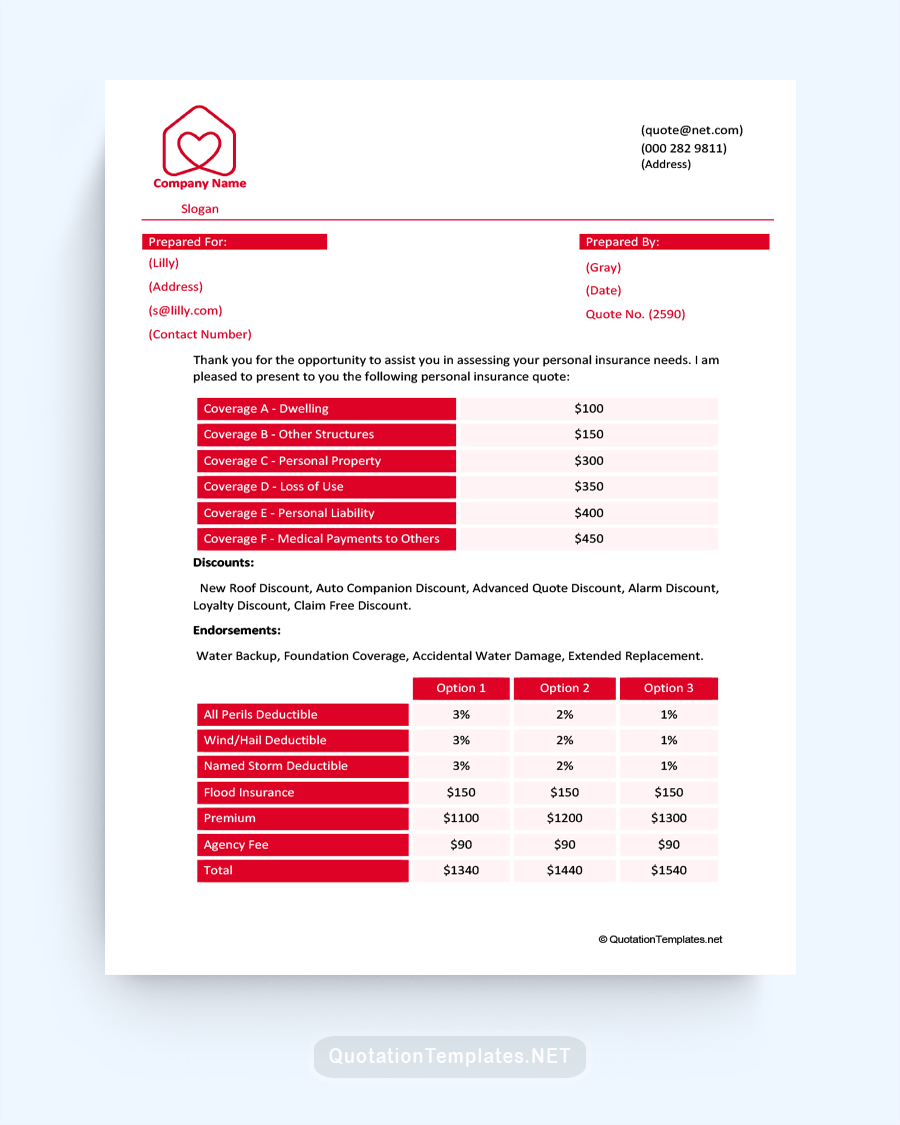
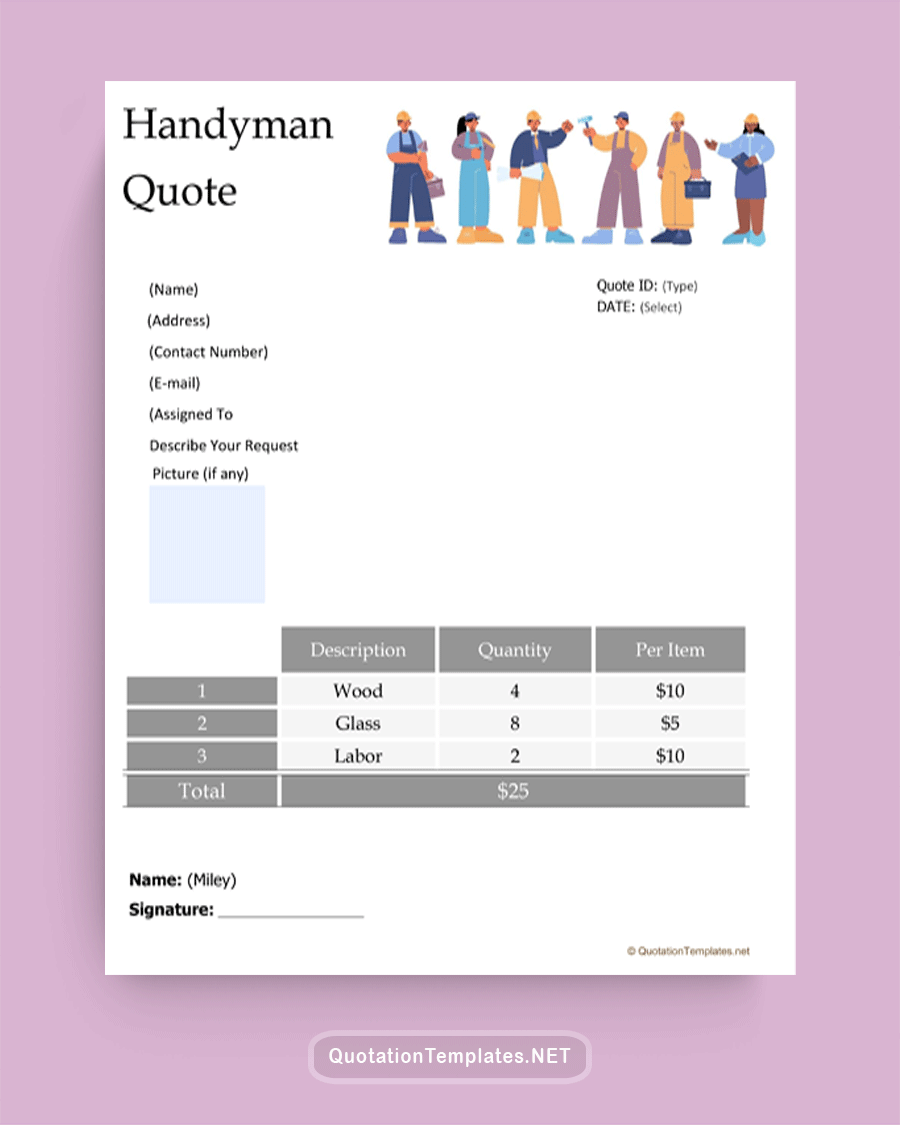
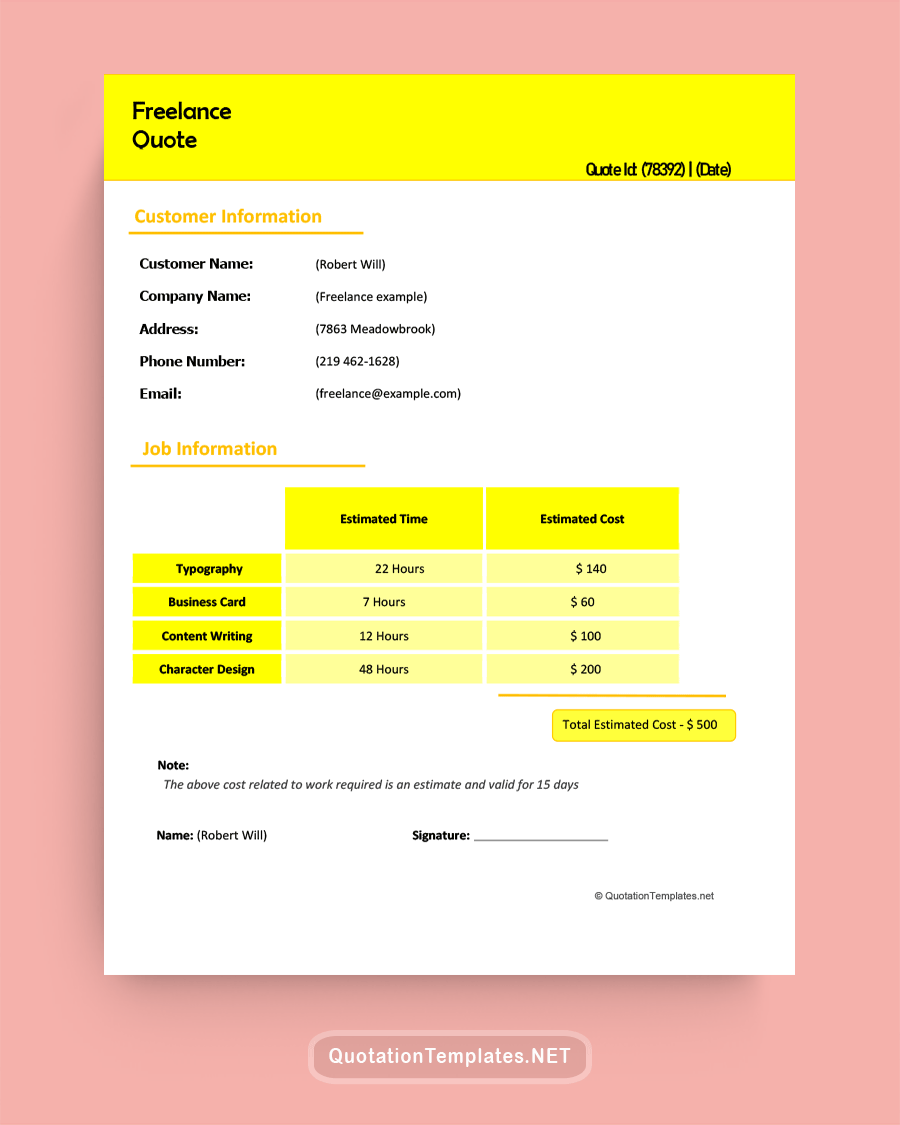
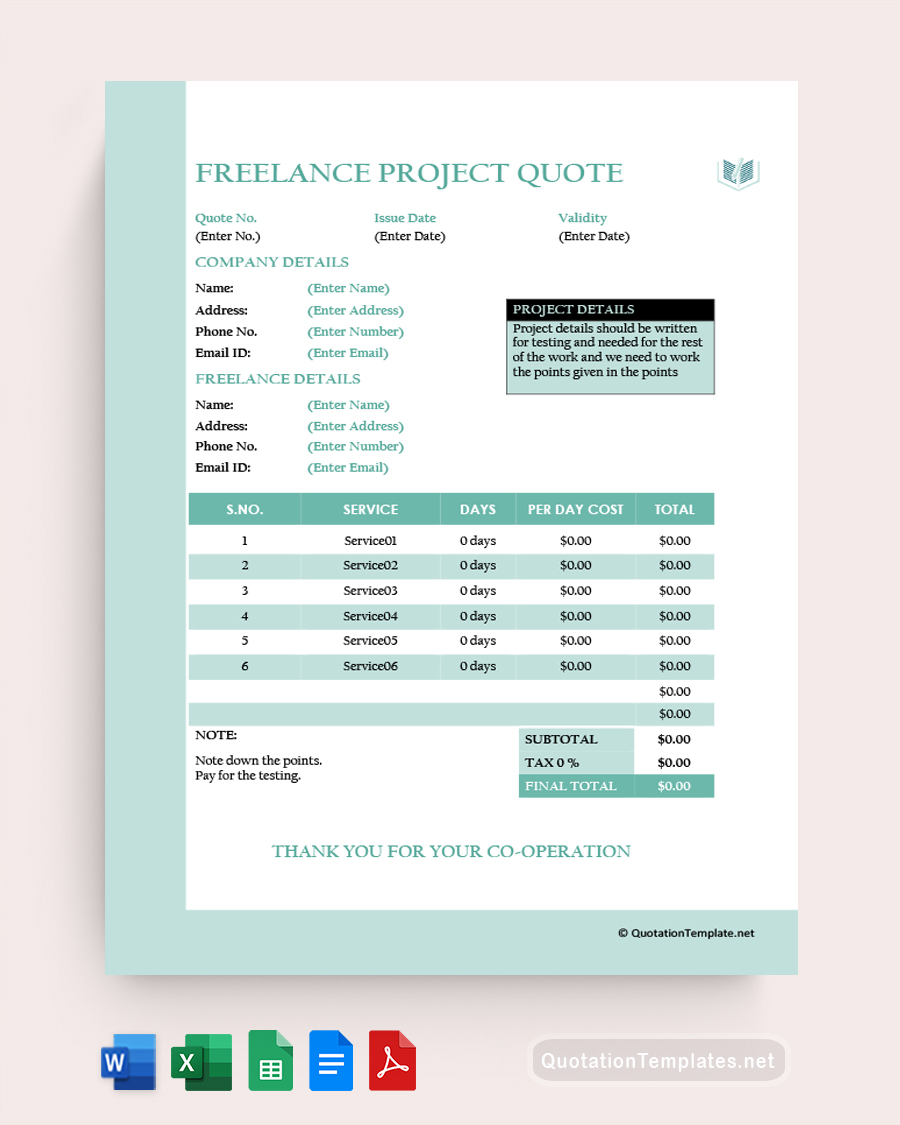
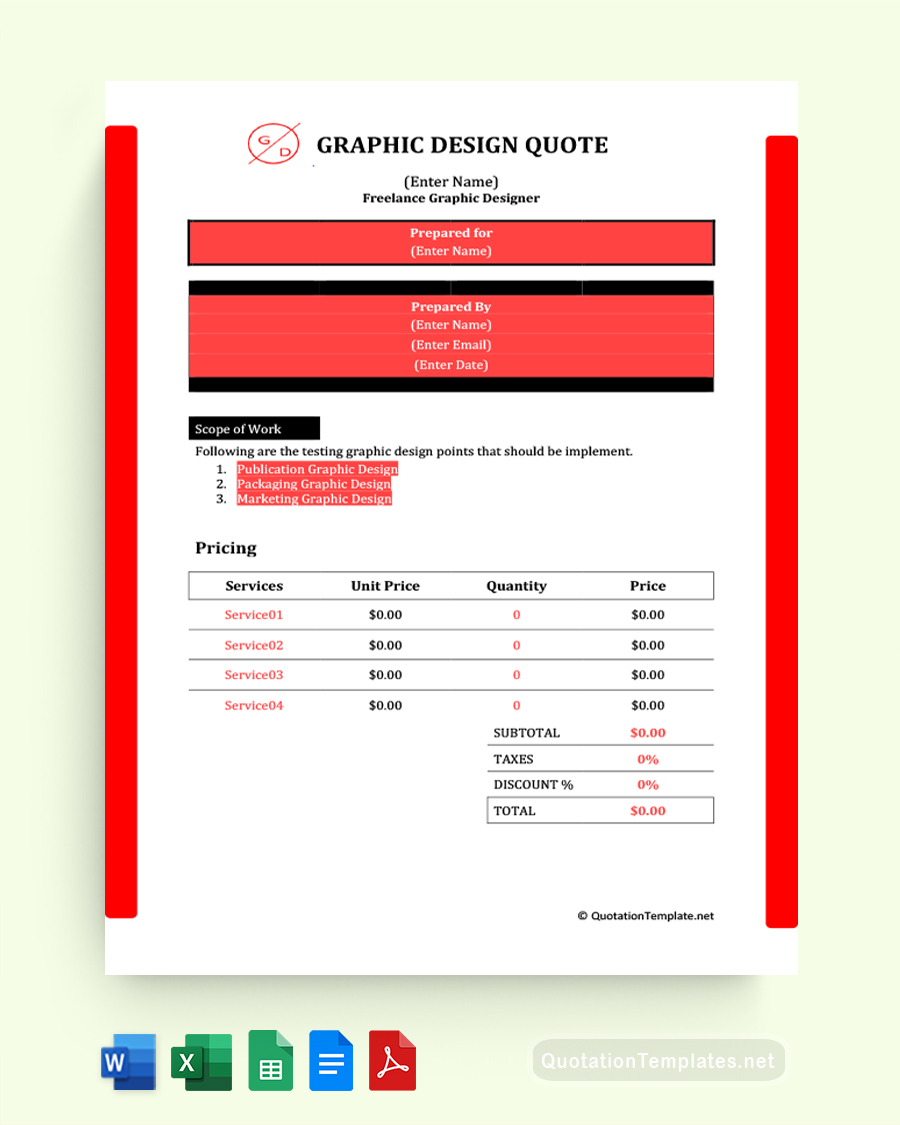
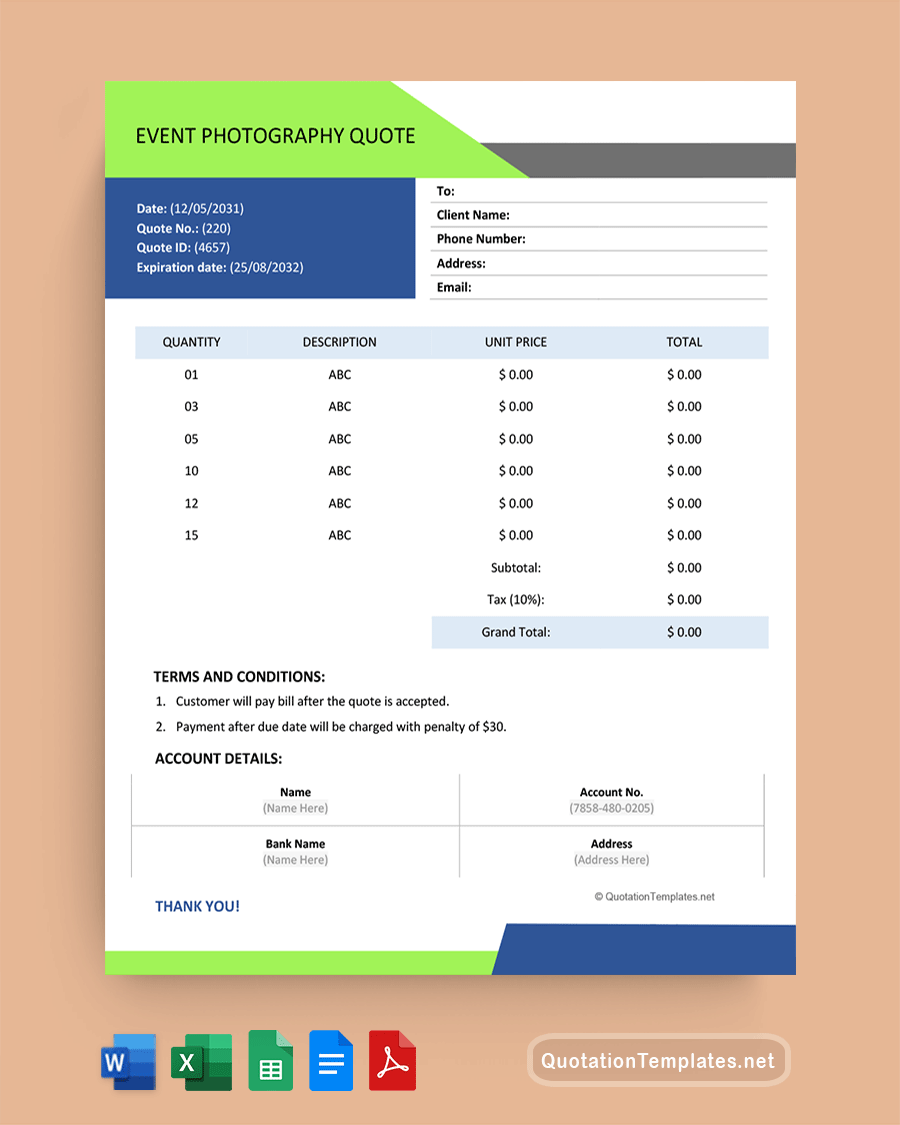
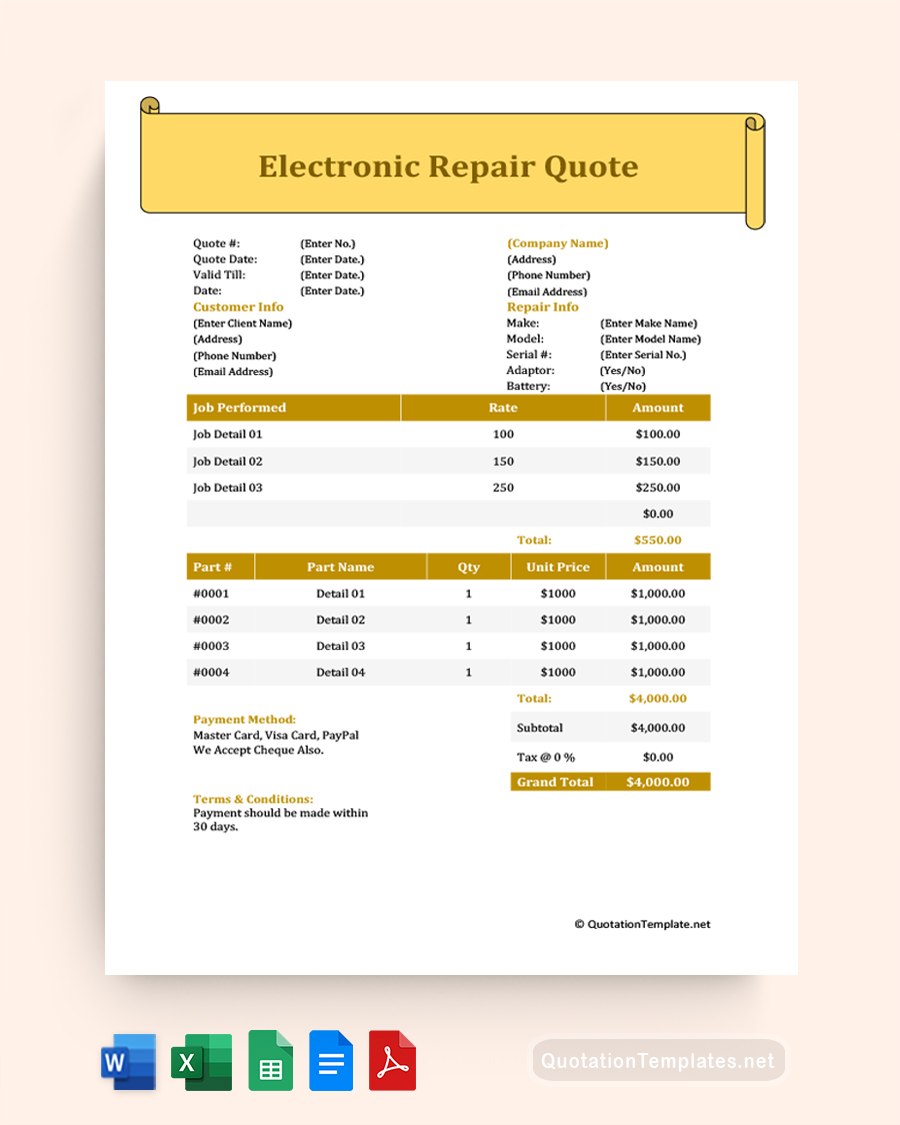
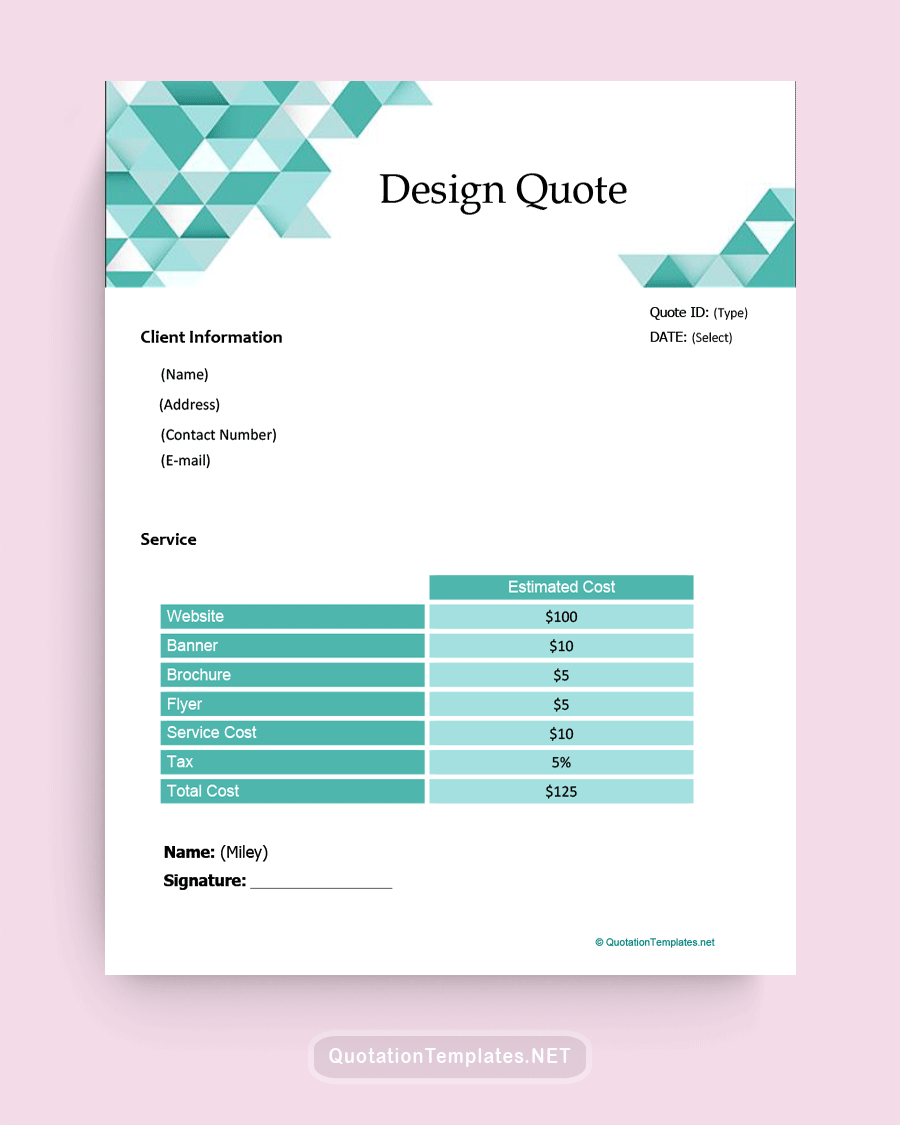
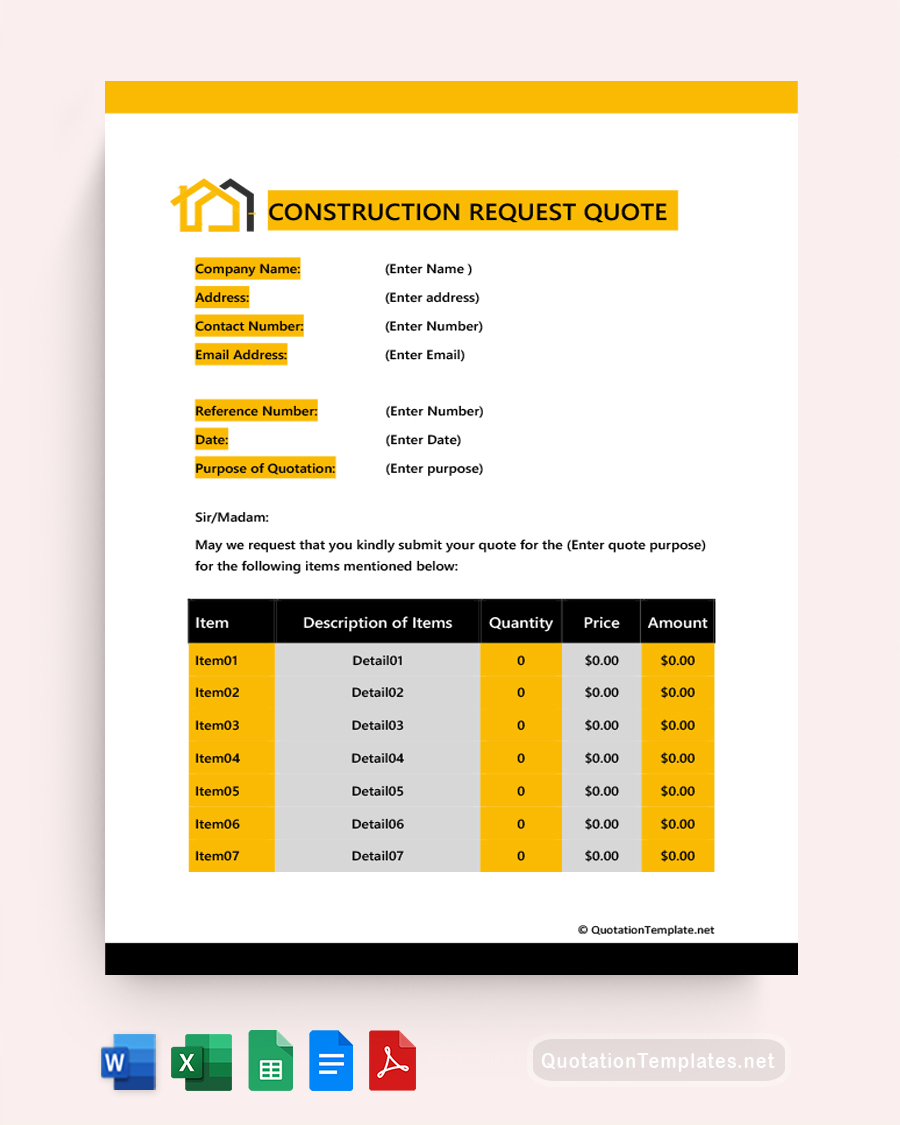
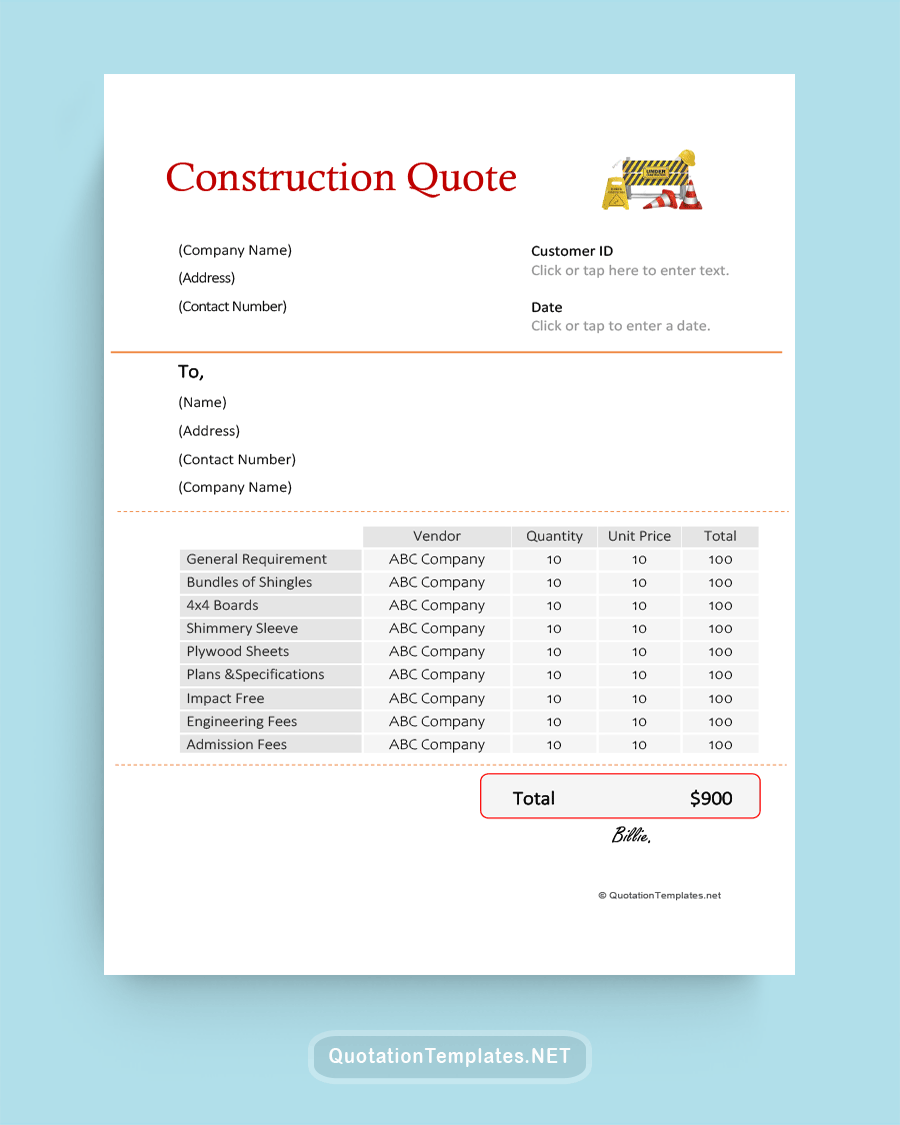
The essential elements of a quote template are very straightforward. You should be able to create the outline for your quote in a few minutes, even if you type slowly. Below are all the headings you will need in order.
- Your company name and contact information
- Across from your info, add the date, quote number, and customer ID (if applicable)
- The client’s name or company and contact information
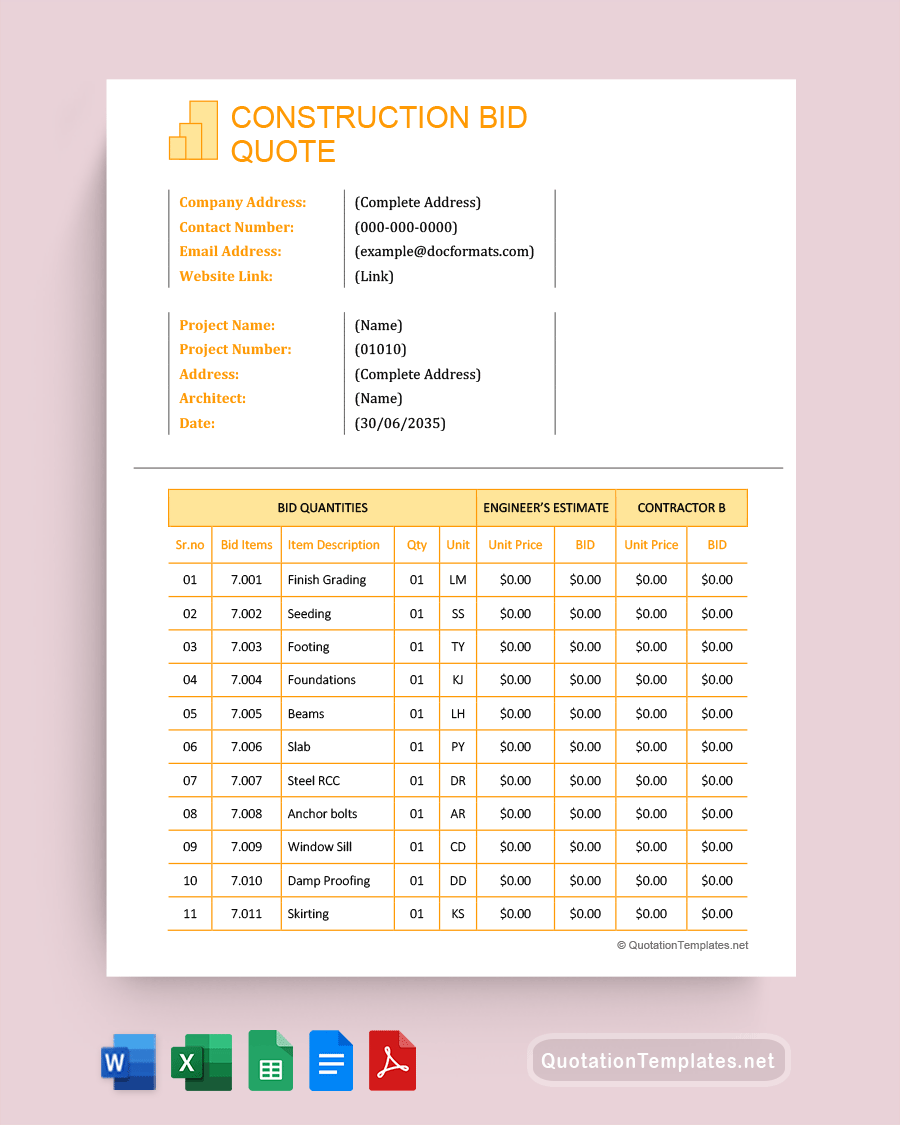
- A selected table with borders
- Item Number Column
- Description Column
- Quantity Column
- Unit Price Column
- Total (If applicable) Column
Pro Tip: You can input your company information directly. These pieces of information aren’t likely to change often. However, all the rest of the information on your template should be generic titles like those given above. Doing this allows you to quickly make and customize a copy for every client without needing to do everything from scratch each time you receive an inquiry. You can customize their desired products and efficiently file and track each job.
Why Use a Quote Template
When you create or use a quote template, it has all the information your customer base needs to understand your offer and its costs. It should also include terms, conditions, package deals, coupons, or specials. Some templates include an optional contract a client can sign, making that quote a legally binding agreement. Additionally, and most importantly, a template is reusable. You should be able to open it anytime, plug in the current data, like client name, services, and costs, and print or email a new quote in minutes.
Why Use Excel
Using Excel has numerous benefits. It is widespread and readily available, so many people already know the Excel system. This innovative program is often lumped in with accounting software like Quickbooks, but it has more features. The ability to easily and rapidly customize almost any document imaginable is a large part of why Excel is so popular and widely used.
Ease of Use
Working with Excell is very accessible. You can grab and drag column widths to suit your needs and create a whole template in moments with just a few valuable tips. Your template will look messy until you format it a little, but accomplishing that takes only a few moments.
Safety
Excel also offers a few safety features that are uniquely useful when preparing quotes. Since quotes often become contracts and are the basis for invoices, protecting them in the digital space is especially important. Unfortunately, unscrupulous customers, while rare, do exist. It’s relatively easy to erase a zero and sign a form, leaving a business owner struggling to prove they didn’t agree to work for hundreds or thousands less.
If you are handing over a physical copy of your quote, checking everything when you get it back is sufficient. However, emailing documents is increasingly popular, so setting restrictions ((https://support.microsoft.com/en-us/office/restrict-changes-to-files-in-excel-021f1709-1ff6-48ec-bc4e-b23729db28f6)) that prevent the reader from making changes can help protect your business from fraud. Whether you set the whole document to read-only or lock the cells in a price chart so the customer can modify the form only in the space you left for a signature and date, digital safety is vital.
How to Make a Quote Template in Excel
Making a quote template in Excel is a little like preparing a canvas for painting. At first, it will look messy, but once you’ve formatted your template, the whole thing will be a perfect blank form ready for you to fill in anytime someone wants to hire you. Not only will you be able to track jobs, order materials, and keep on schedule more easily, but you’ll also look more professional. Getting clients a simple, fast quote will help you gain more business. Follow the steps below to make your quote template in Excel. For this tutorial, you don’t need any programs or materials. All you need is Excel on your computer.
- Open your regular spreadsheet program. Please note that this will look sloppy initially, but as you format it later, it will quickly become a very polished-looking final product.
- Start in the first cell of the first column and input your company’s name, your name if you don’t have a business name, or ‘name’ if you plan to use the same template for more than one business.
- In the next cell down, write Address: (You can fill in your business address if you only use one).
- Below that, add the Phone Number and Email in the fourth cell.
- Back in the top column, skip over to the right side and choose a column that leaves you plenty of space on the page to add information—type in the date.
- (Optional but recommended) Below the date, use a cell for the customer identification number and one for the quote number. This helps when keeping records. Not every business issues account numbers to its clients, but you should at least number the quotes to help keep track of them.
- Go back to the left side of the page, below your first four columns, and leave a few empty spaces (about four). In the next open cell down, you will create the headings for a chart that will display your quotes for various services and other products and fees.
- The first cell in the chart should be the Item Number.
- Next, label cells in the same row: Description, Quantity, Price Per Unit, and Total
- Select this area and turn it into a table. Leave enough cells to accommodate all the items, materials, labor, services, fees, taxes, and other costs associated with the project.
- Put a border around your table to define it.
- Go to the top of the page and widen any cells where you need more space by clicking and dragging their borders.
- Delete unused cells by selecting them and modifying the area, so you have a mostly blank page with your chart.
- Give your template a title, and don’t forget to save it.
Including Terms, Conditions, and Contract Options
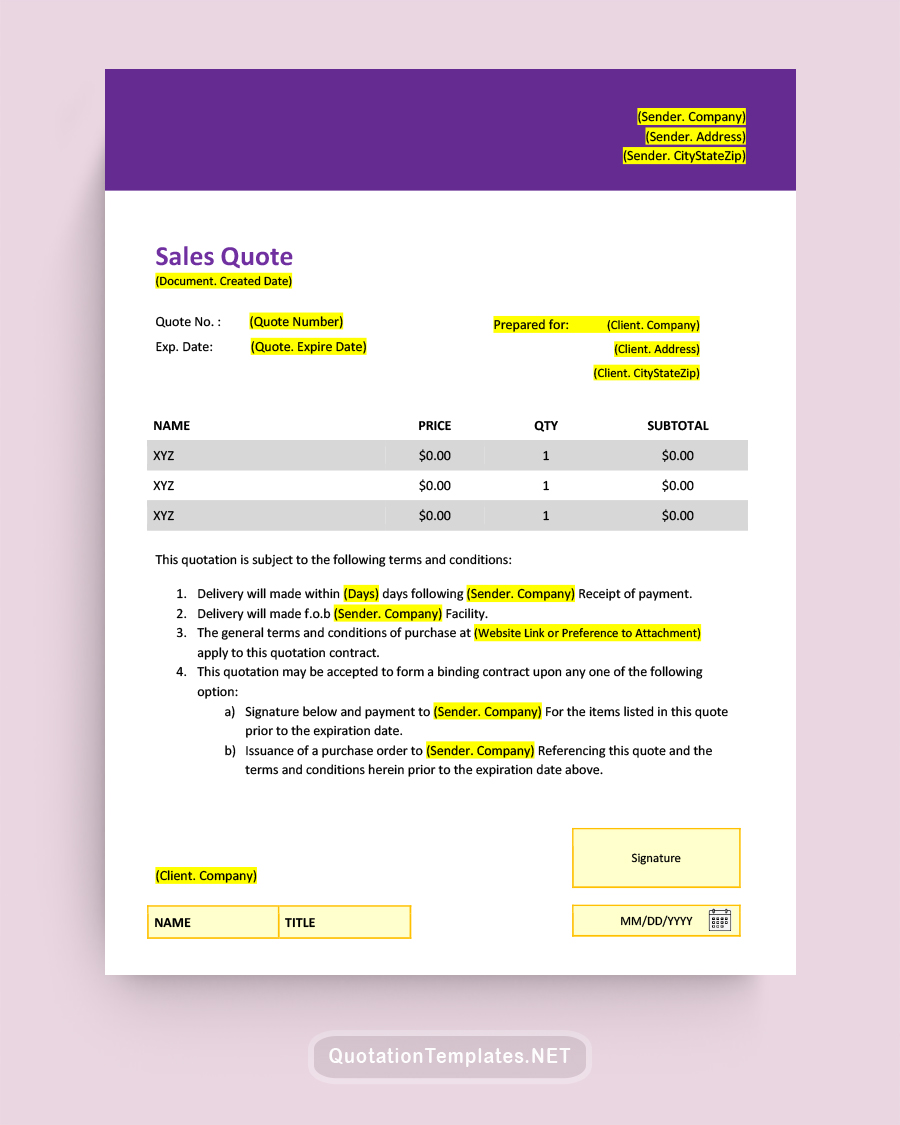
You may want to include a little more information. A properly worded addition with a signature line can turn an outline into a contract for services. Your terms and conditions should be on a separate page. It’s a good idea to have someone with legal expertise help with this section. However, you can add a contract option to the front page (of a physical copy).
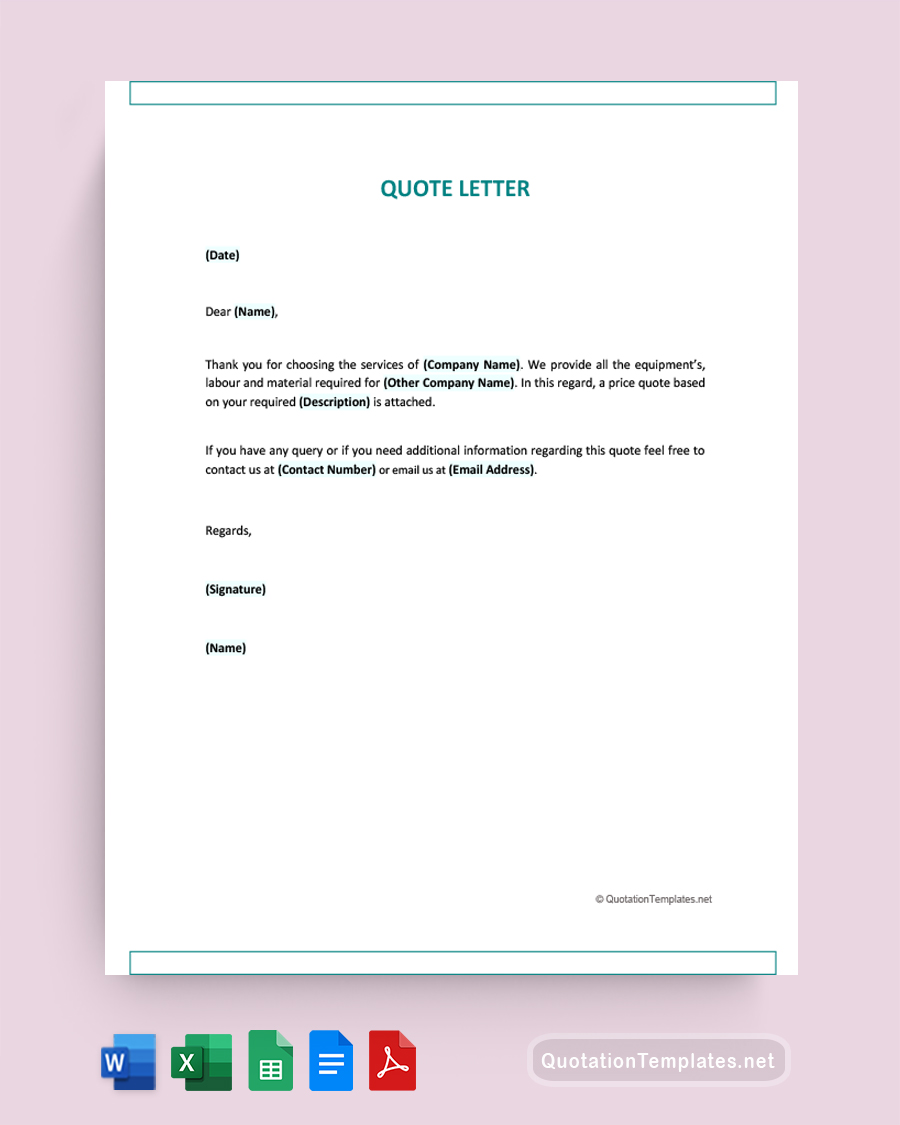
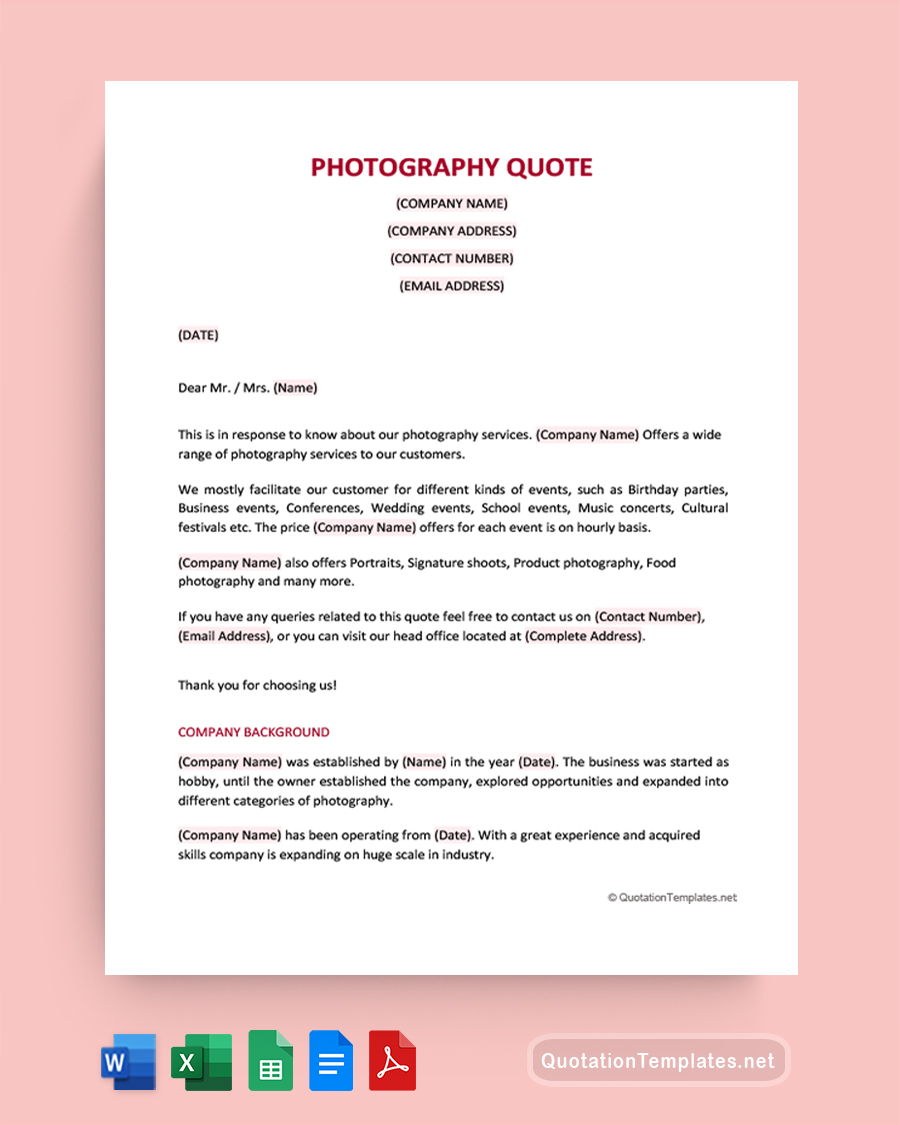
Add a note that thanks the client for their inquiry. Remind them politely that your quote has a time limit, but if they find the terms agreeable, they can sign on the line and return the form anytime before then, and you’ll get right to work on their order/event/design/whatever term is applicable. Add spaces for date, signature, and printed name. These simple lines are what turn a quote into a contract.
Downloading a Quotation Template and Opening It to Edit in Excel
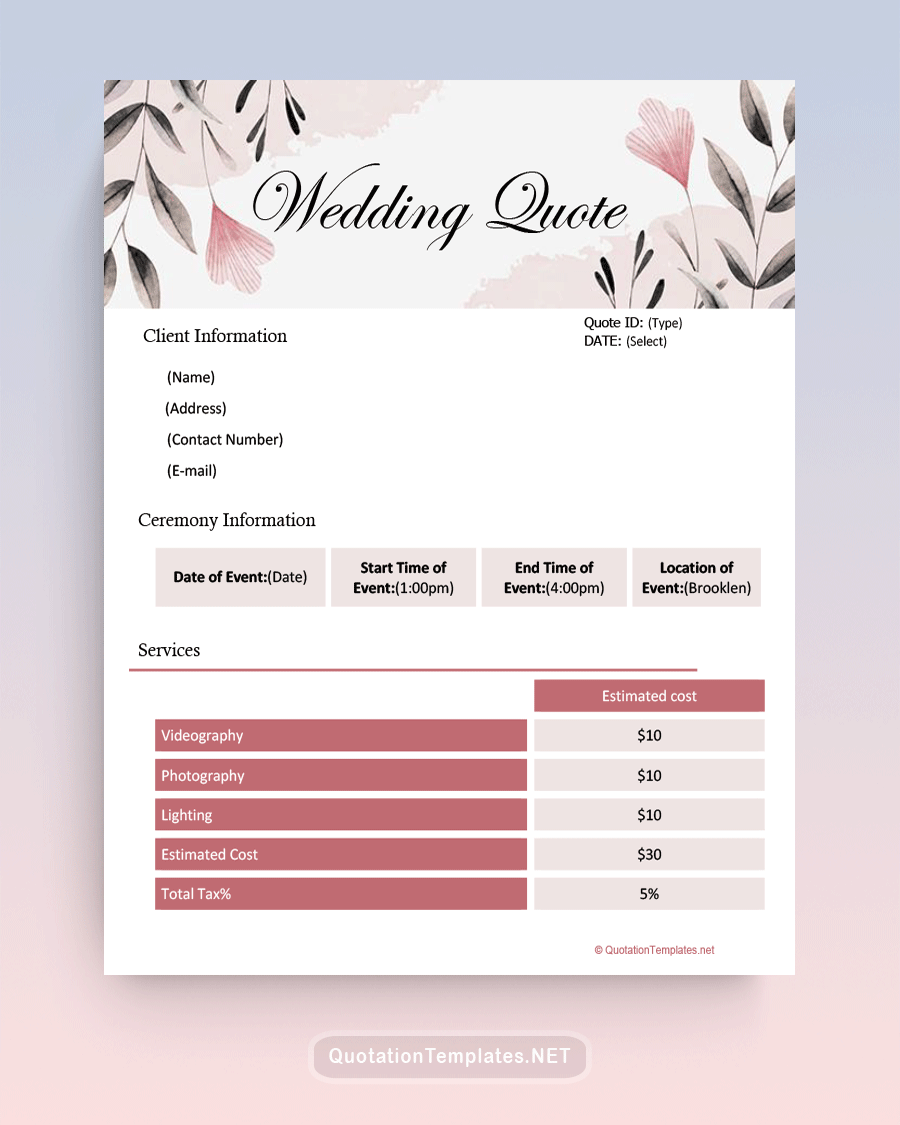
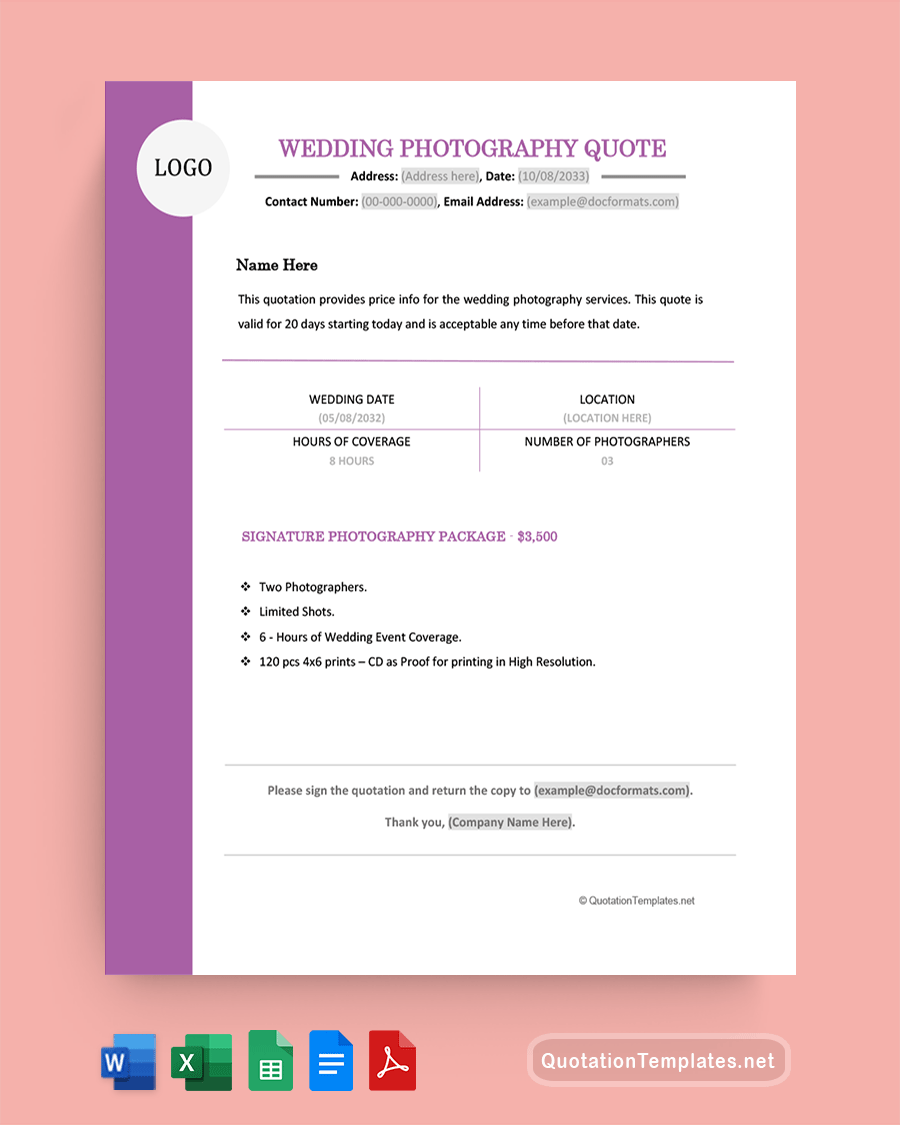
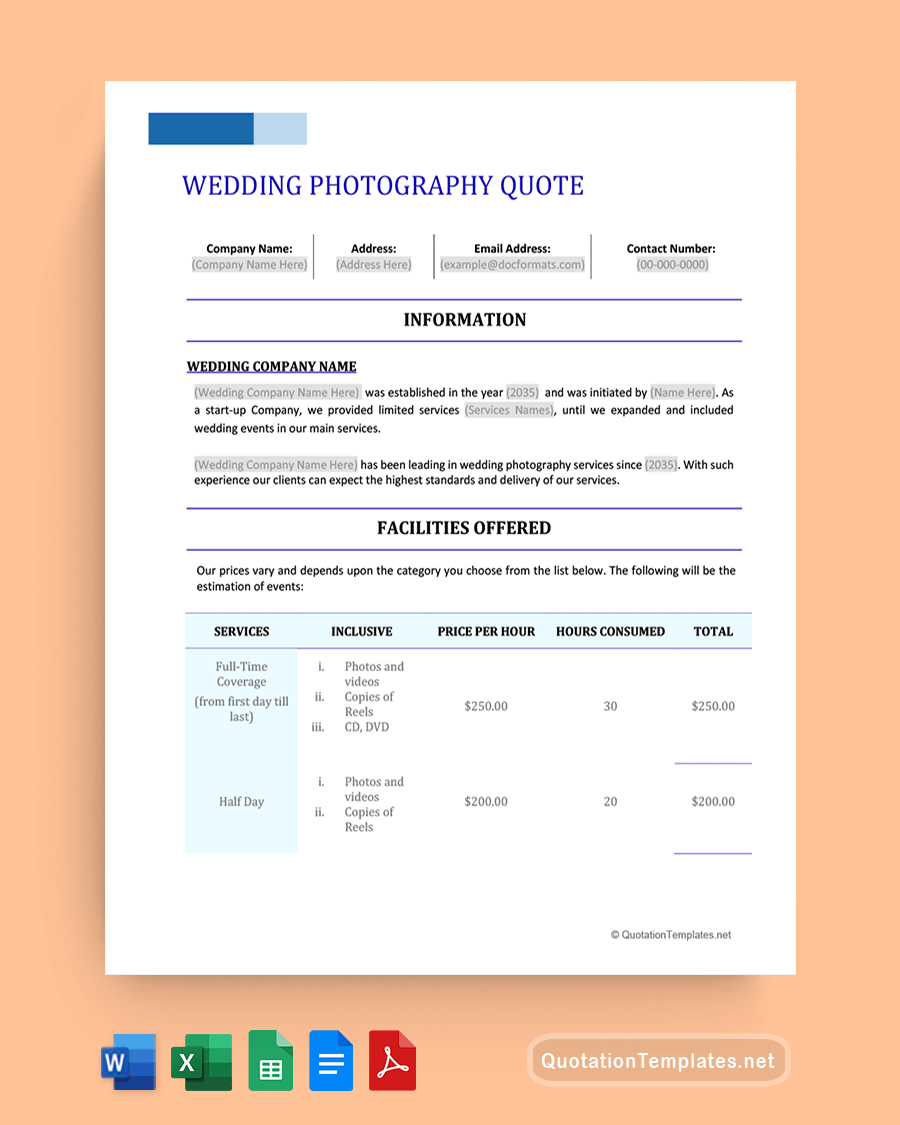
If you followed the steps above, you should have a functional, professional quote template. However, for those who don’t want to DIY, we’ll also walk you through downloading our free templates and opening them in Excel. Knowledgeable professionals create all our templates, and you can download and edit them in Excel or Word. Downloading a template is easy. Click on the download button or right-click and save the file where you want it. Then open it in Excel.
Alternatively, you can right-click the template’s name in your files and open it from there. For you Mac users, that’s a control click. Select ‘open with’ and scroll down to Excel. This may not work on every model or OS, but it will generally do the job on PCs.
Common Mistakes to Avoid When Preparing a Quote
There are many benefits to preparing your quote in Excel, but plenty of potential pitfalls exist as well. Although it takes a little practice and patience, most things that can go wrong can be avoided by knowing what to look out for in advance and paying close attention as you compose. Here are some common mistakes to avoid when preparing a quote. Feel free to bookmark this page and use this section to troubleshoot as you work.
- The simplest mistake is trying to get too decorative. Just as you want to present the correct information without being overwhelming or leaving anything important out, you want the whole page to be visually uncluttered with simple fonts, no wild patterns or color schemes, and all the information front and center. Change things up with a logo, solid color line, or colored chart outline, but keep it muted and professional.
- Spelling and grammar checks are another easy-to-forget part of the process. If possible, have someone else check over the page. Always run basic spellcheck for free online and double-check your numbers.
- Timing is everything with quotes. You need to compose your form relatively quickly. However, don’t email a quote 20 minutes after you get a call about it. Take the time to vet the client and assure yourself they want an accurate quote. A few moments and a google search can save you a lot of trouble.
- Customization is critical. Ensure that you give the client exactly what they’ve asked for. It is okay to add a relevant package or deal or suggest an upgrade, but make sure the original request makes up the bulk of the quote.
- Save it where you can find it. When you finish your new document, save the original unaltered template somewhere easy to find, like a related work file. Give it a simple and obvious name like “Quote Template” so you can always find it. You may even want to save a backup copy under another name.
- Excel’s spreadsheet program expects the cells on the page to be filled. Always double-check to ensure you’ve deleted unused cells. Alternatively, you can use a zero, TBD (to be determined), or N/A (not applicable) to fill the space.
Final Thoughts
You are always welcome to download and use one of our professionally created templates, but creating your own quote template in Excel can be very rewarding. You should make a quote if you need a completely custom solution that you will reuse regularly. Now that you understand how it’s done, you can open up the program and make templates anytime you want, or you can import our templates and modify them with your information.